The Self-Service kiosk is designed to be intuitive and easy-to-use for both experienced and first-time users. An Administrative-level user will sign in to the kiosk to lock it into Self-Service mode until they log out. Each workstation (computer) must be customized individually in Workstation Management. You'll choose which People Classifications can use the kiosk, if and when printers and cameras will be used, etc. Once these settings have been saved, you won't need to set them again unless the station's default internet browser has its cookies deleted, which can happen through routine maintenance, security settings, or a computer restart.
If you’d like to use the Self-Service Kiosk with identification scanners, the Enable ID Scanner setting in Workstation Management must be checked; once activated, users will be able to scan their identification cards using the Scan ID button.
The Self-Service Kiok also contains a rudimentary Command Line for scanning barcodes, but does not include any of the Quick Links features found on the Attended Kiosk. Even if you're not using barcodes to sign in and out of the Self-Service Kiosk, the process is still extremely simple and intuitive.
Access KeepnTrack's Self-Service Kiosk on any machine with an internet connection by typing your server domain name followed by “/selfservice” into your browser's Address field (usually located in the upper-left corner of the window). Alternately, you may select the Self-Service Kiosk directly from your KeepnTrack domain name and using the application picker, which offers the Self-Service option. Your Security settings will determine if you have permission to Log in to the Self-Service Kiosk. |
Learn how to set up kiosk mode on your computer or tablet to limit user access. |
Using Self-Service
1. Select Language
First, select whether you would like to continue in Spanish or English. The optional messages below the language selection area can be customized in Kiosk Preferences.
2. Select Classification
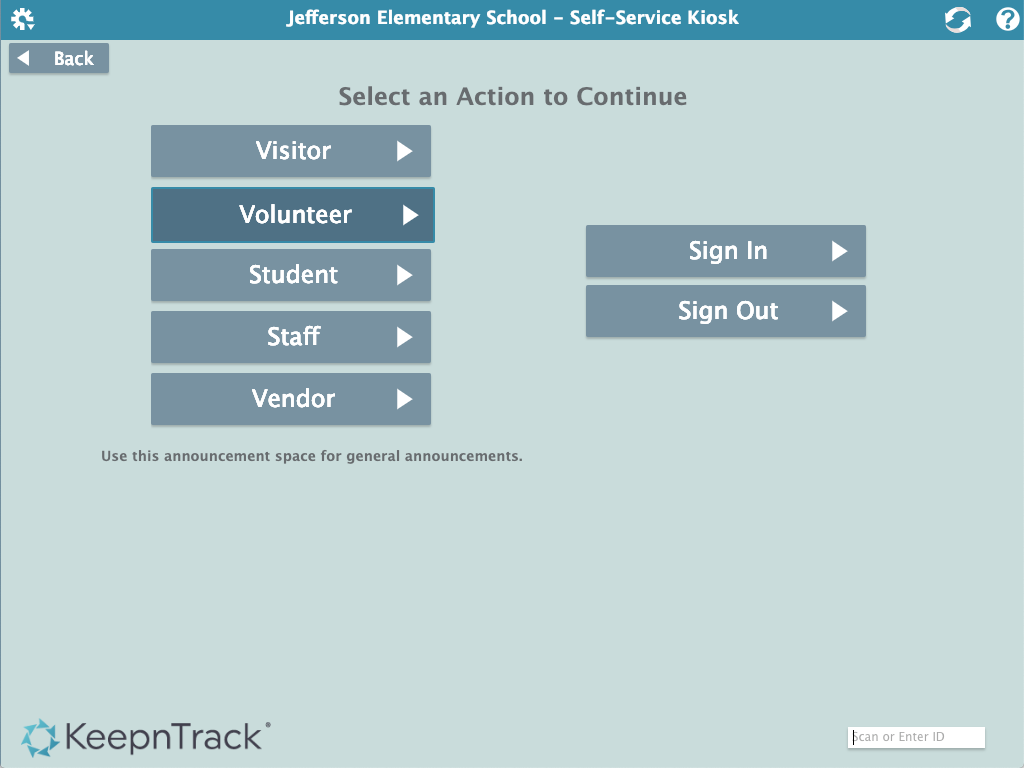
Next, select the proper “classification” in order to continue. Since Students and Staff are the two groups most likely use the Self-Service Kiosk, they will be featured in the examples below. However, you can also enable the Visitor, Volunteer, and Vendor classifications; it all depends on what you have selected in your Kiosk's Workstation Management settings.
After selecting the person classification, click Sign In or Sign Out; whatever action best describes what you would like to perform.

3. Enter Your Name
Next, enter your full name and birthdate or KeepnTrack Person ID number. Alternately, if you have one of our supported ID scanners enabled in Workstation Management, you can use Scan ID to attain the person’s full name and birthdate and enter them into the correct fields of the Select Person section.
Click Continue to proceed or Back to return to the classification selection of the Self-Service Kiosk.

4. Sign-In Alerts & Messages
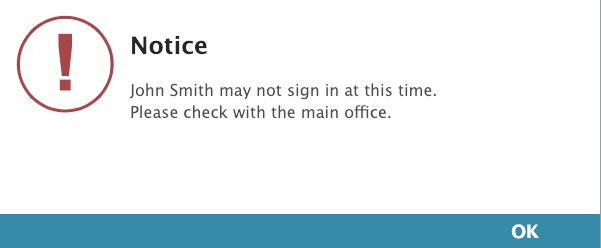
For some reason, if a user is prohibited from signing in to your facility, they will be directed to the main office and an alert message will be sent to the Sex Offender Alert Email Addresses and/or Sex Offender Alert Text Addresses specified in your Alerts preferences.
A sign in failure can result when a person requires further evaluation (and possibly an exception), has more than one record, is denied access to your facility, or has a first and last name that isn't unique (in which case, use their Person ID). Regardless the reason, KeepnTrack can't detect when a nefarious person falsifies their information to gain access to your facility; in these events, notified school personnel and/or operators who can personally screen visitors are an absolute must in order to maintain proper security.

Messages appear when:
- Sex Offender Checks are enabled and a possible sex offender match is found. Only an operator is able to truly verify whether a person should be cleared to enter your facility.
- When a person can not be uniquely identified. It wouldn't be safe to have KeepnTrack guess whether someone with similar credentials is "close enough", nor would it be prudent to allow someone to erroneously select another person's identity from a pick list. This is why KeepnTrack asks users to provide their birthdate—it increases the odds of finding a unique person record.
- When a person has a Status of Access Denied. An attendant is alerted when a denied person attempts to enter your facility.
- When a person is not allowed at this facility. An attendant is alerted when a person without access attempts to enter your facility.
When an unknown Visitor attempts to sign in via the Self-Service Kiosk and passes the Sex Offender Check (if enabled in Workstation Management), a dialog will appear, asking if they would like to create an enrolled (i.e. permanent) visitor record. If the user clicks Yes, a new record will be created using the person's full name and birthdate. If No is clicked, they will be returned to the Select Person section.
If the person attempting to sign in has previously done so, they will be asked to first sign out before they can sign in again. Click Yes to sign them out of their current activity and sign them into a new one or No to leave them signed in to their current activity and start over.
5. Capture Picture
If "Look For Camera" is checked in Workstation Management, the next step is to take a picture of the visitor with your KeepnTrack HD Camera. If the person already has a picture, you'll have the option to retake the picture on the Activity screen.
6. Select an Activity
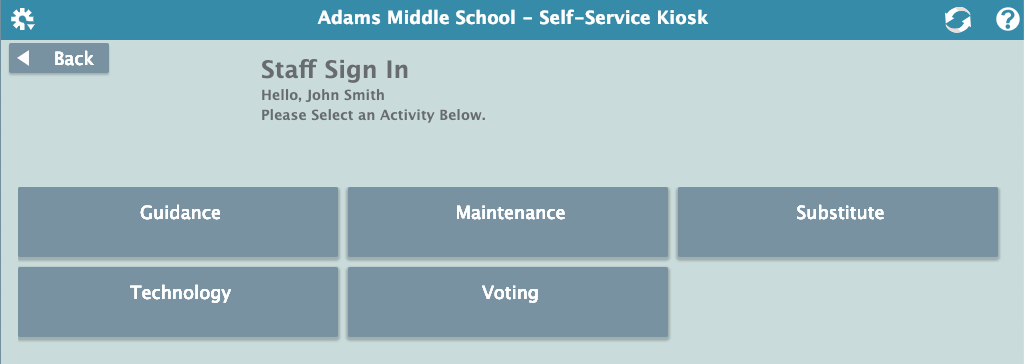
Next, select an activity. These activities are set up and customized in Activities.
Some activities have subcategories called Destinations. For example, Classroom could be the primary activity, but you wouldn't see the forty-eight teachers you may have set as Destinations for that activity until you click the Classroom button. When selecting an activity that has an (optional) Destination, instead of finalizing the sign-in process, you will be directed to the Destinations picker.

7. Sign-Out Notes
Depending on the Notes on Kiosk Sign Out setting, each activity can be made to Show Notes Field, Hide Notes Field, or Require Notes Field. When suppressed, the Notes dialog will be skipped. When shown, the Notes dialog will only appear after the Select Activity step (above). When notes are required, the ability to Continue to the Sign Out Verification stage is disabled until notes are provided.
8. Verification
A popup message will confirm that you've been signed in or out, and then KeepnTrack will return to the main screen.