- Created by Ashley, last modified by Bethany Brown on Jul 31, 2023
You are viewing an old version of this page. View the current version.
Compare with Current View Page History
« Previous Version 39 Next »
Contents
Use Patrons Management to create, view, modify, and remove patron and operator record data.

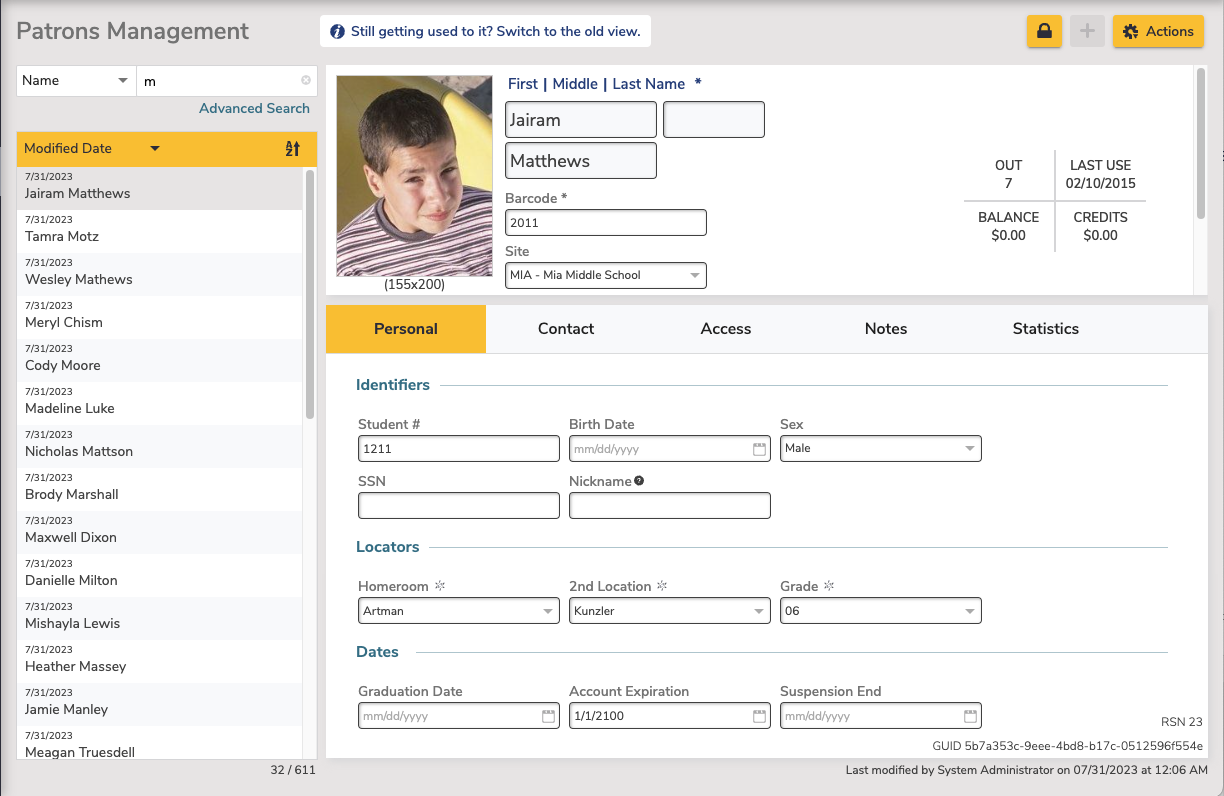
Patrons Management includes a few important and distinct areas:
- The Patron toolbar on top,
- the Records List on the left,
- and the Current Record pane on the right.
Search for and open a patron record, then click the padlock at the top of the window to unlock the record for editing. The current record open in the Patrons module will also be the current patron in the Circulation module, and vice versa.
Add Patrons
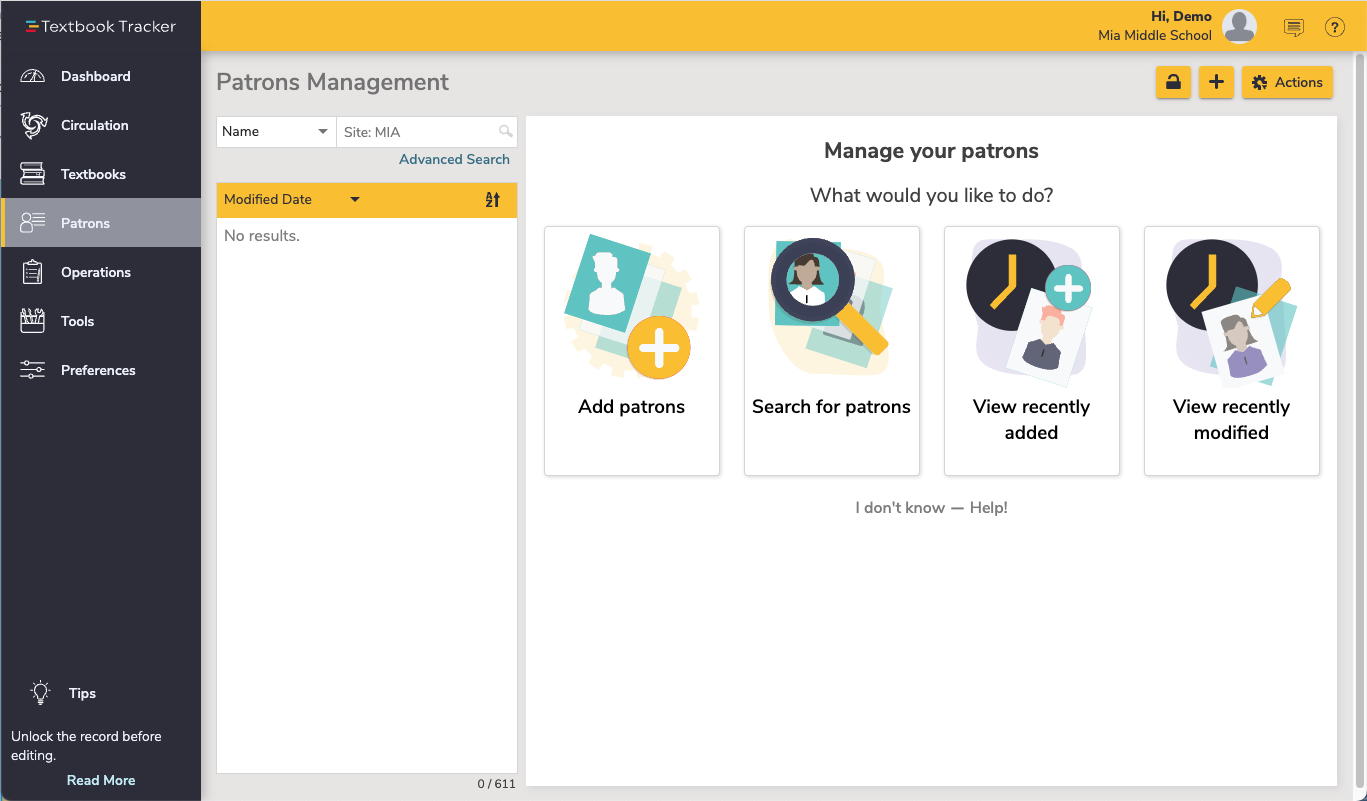
When unlocked, select the plus in the top right to add patrons, or if no record is currently pulled up, you can select the Add patrons card on the Patrons landing page.
Actions Menu 
- Remove Patron. This selection permanently removes the selected patron or operator record. Be sure to address any items checked out or fines owed before removing the patron.
- Merge duplicate by barcode. Merges the current patron record with another that's specified by barcode. All lists, reviews, charges, checkouts, holds, history, and more from both records will be kept.
- Take a picture. Opens a window so you can take a picture of the patron if your device has a webcam.
- Add a picture. This selection opens an operating system standard explorer window, allowing you to guide Alexandria to the location of your saved patron image. You can use GIFs, BMPs, PICs, JPGs (or most standard image files) as viable formats to add a picture to your patron record. When applicable, the picture will appear in the Personal Info tab of Patrons Management and in the Current Patron pane of Circulation.
- Remove picture. Once removed, the patron picture will default to what you have set in Preferences > Patrons > Patron Pictures.
- Patron History. Runs an individual Patron History report, which shows recent payments, credits, renewals, lost items, refunds, Lexile history, and returned items. The PDF will automatically download to your device. You can also run this report in Circulation via the actions menu for the Current Patron pane.
- Patron Details. View or print the details for the current patron.

See Patron Tabs for more information about the Patron records.
Patron Lookup
To search for a patron record, click at the bottom of the Records List, or click Search on the blank screen when you first open Patrons Management. The Lookup dialog allows you to locate patrons or operators in your database that meet your criteria. For example, if you search for an operator with the last name of Anderson, every patron record matching that last name will be included in your results.

Search Field Variables
- First and Last Names
- Barcode, Student #, Grade
- Lexile, Reading Level
- Patrons Added, Birthdate, Graduation Date, Suspension End Date
- Policy, Security Group, Status
- Homeroom, 2nd Location
- Username, Email, No Picture, No Email, Sex
- Site
- Add to current results box
- When checked, add any patrons or operators found during this search will be added to the list of patrons already open in the Records List. When unchecked, the Records List will be cleared of everything except your most recent search results.
Use the From and Through fields to limit your search to a specific range.
- If you enter only a From value, your results will include all records that begin with the entered text. Using Grade as an example, a solitary From value of GR1 would select grades GR100, GR10 and GR1B37. We recommend entering a value in both the From and Through fields, even if you are only searching for one value (e.g. Barcode From: 2005, Through: 2005).
Date Ranges can also narrow your search. Dates must be entered in the format specified in Preferences > Localization > Dates & Currency. You can click the calendar icon to select a date, or enter the date manually.
- If you enter only a From (start) date, Textbook Tracker will calculate a date in the "far future" (30 years from today) as your Through date.
- If you enter only a Through (ending) date, Textbook Tracker will calculate a date in the "far past" (01 Jan 1904) as your From date.
- If you don't enter any dates, From is set to one year in the past.
If no records matching your search criteria can be located, you will be asked to Cancel or Try Again.