Contents
Patron Records
The greater half of the Patrons Management module is dedicated to the Current Patron Record pane, which provides access to the information stored in the title or copy record selected from the patrons Records List on the left. The tabs that are available in the Current Record pane contain the settings, options, editable fields, drop-down menus, and checkboxes that are used to manage the patrons or operators who use your library.
Patrons Management tabs
The Patrons Management tabs contain pertinent information for each patron.
- Personal Info
- Contact Info
- Notes
- Statistics
This database is shared with Alexandria.
Changes made in Textbook Tracker will be reflected in Alexandria, and vice versa.
Personal Info
Any numeric ranges are used in these fields, they should be padded with zeros so that they may be sorted and selected correctly; for example, instead of a “1”, “2”, “402”, you'd insert “001”, “027”, “402”. Essentially, in order to sort properly, all entries within a numeric range need to have the same number of digits.
Contact Info
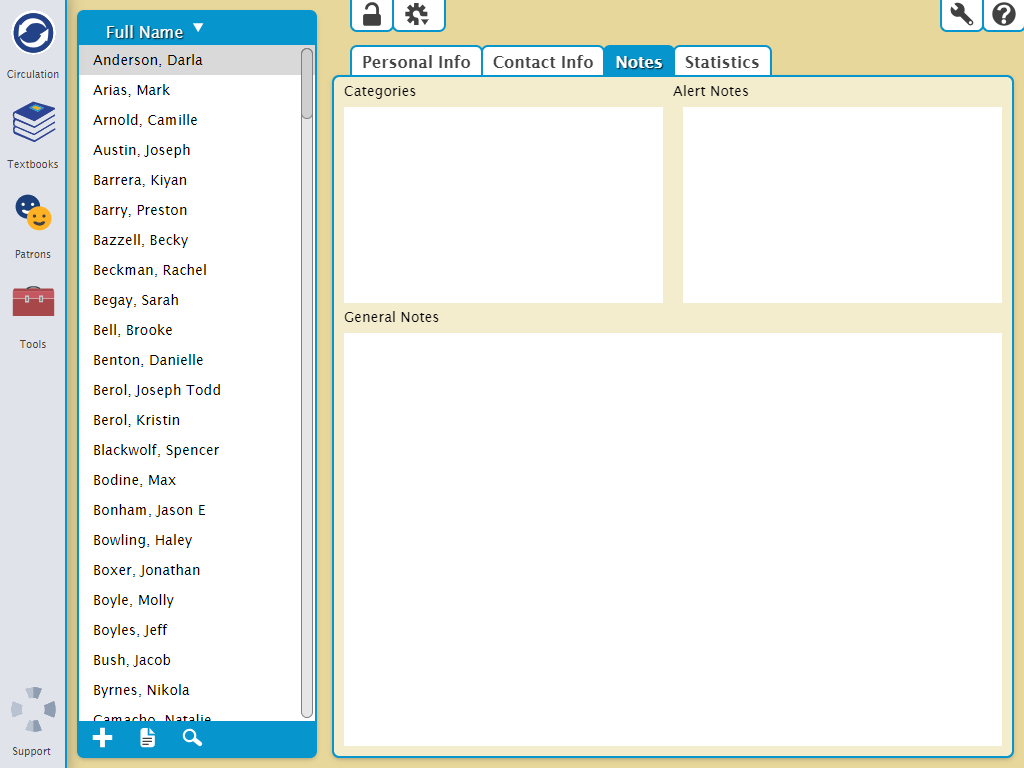
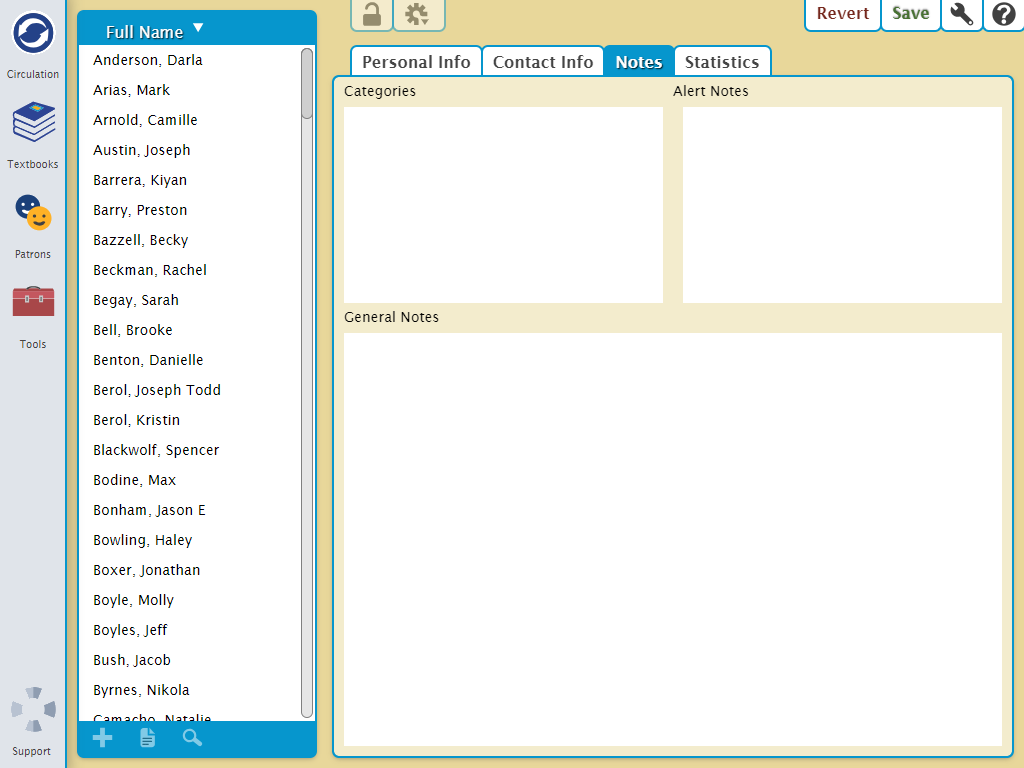
Notes
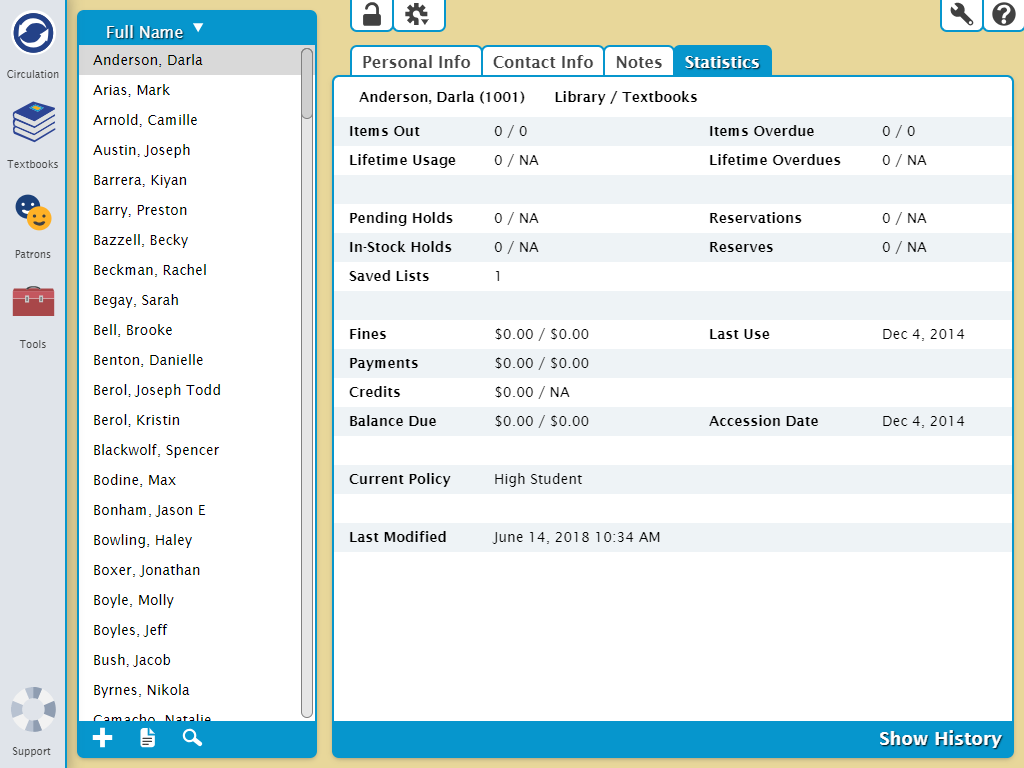
Statistics
The Statistics tab contains historical information about your patron's recorded library usage. This data is automatically generated by Textbook Tracker and cannot be modified.
At the bottom of the window, click Show History to download a PDF of the patron's complete transaction history. This is the same as running a Patron History report.