![]()

Contents
Keeping updated pictures of staff, volunteers, and students is an important part of maintaining the security of your facility.
Keep updated photos of staff and volunteers in their person record. There are two ways to add photos.
Up-to-date photos of staff can be stored in their person record. There are two quick ways to add photos.
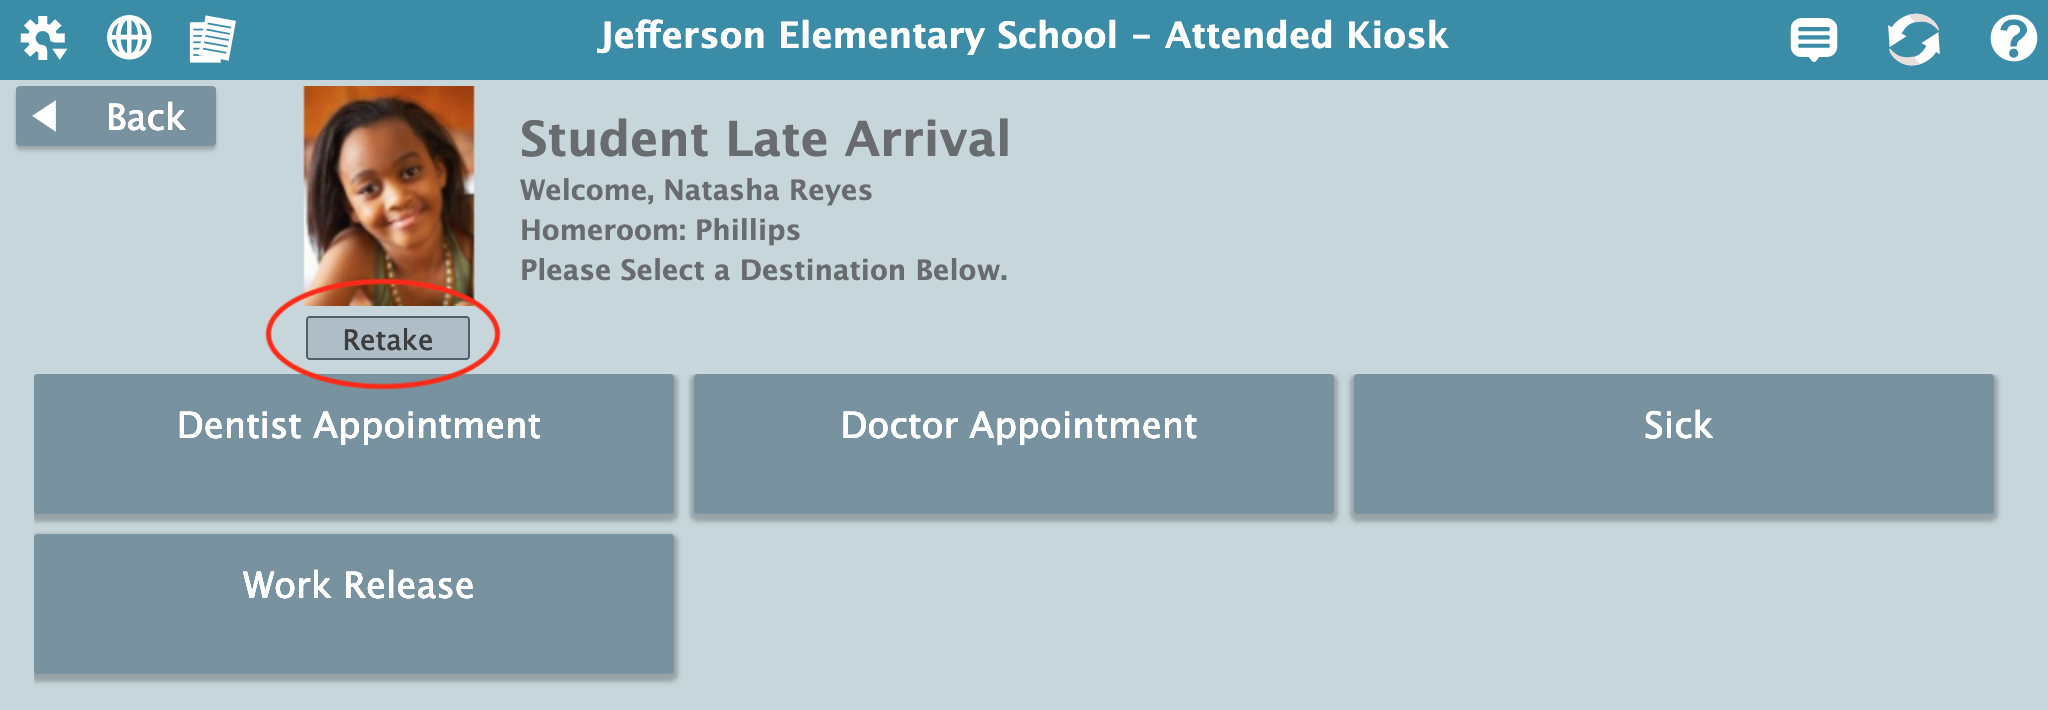
[get a shot of the new ‘take picture’ button when they already have a picture]
Note you must have a camera set up; in Workstation Management > Scanners & Camera, check the box to Look for Camera. This can also use your computer camera.
Also under Station Settings > Camera and Printer Settings, set the dropdown to Camera and make sure Show Camera is set for the appropriate classifications.
>> not able to take a pic at all unless Require Picture is checked, right now..
- From the kiosk
When a person signs in to an Attended Kiosk, you have the option of taking an updated picture of them.
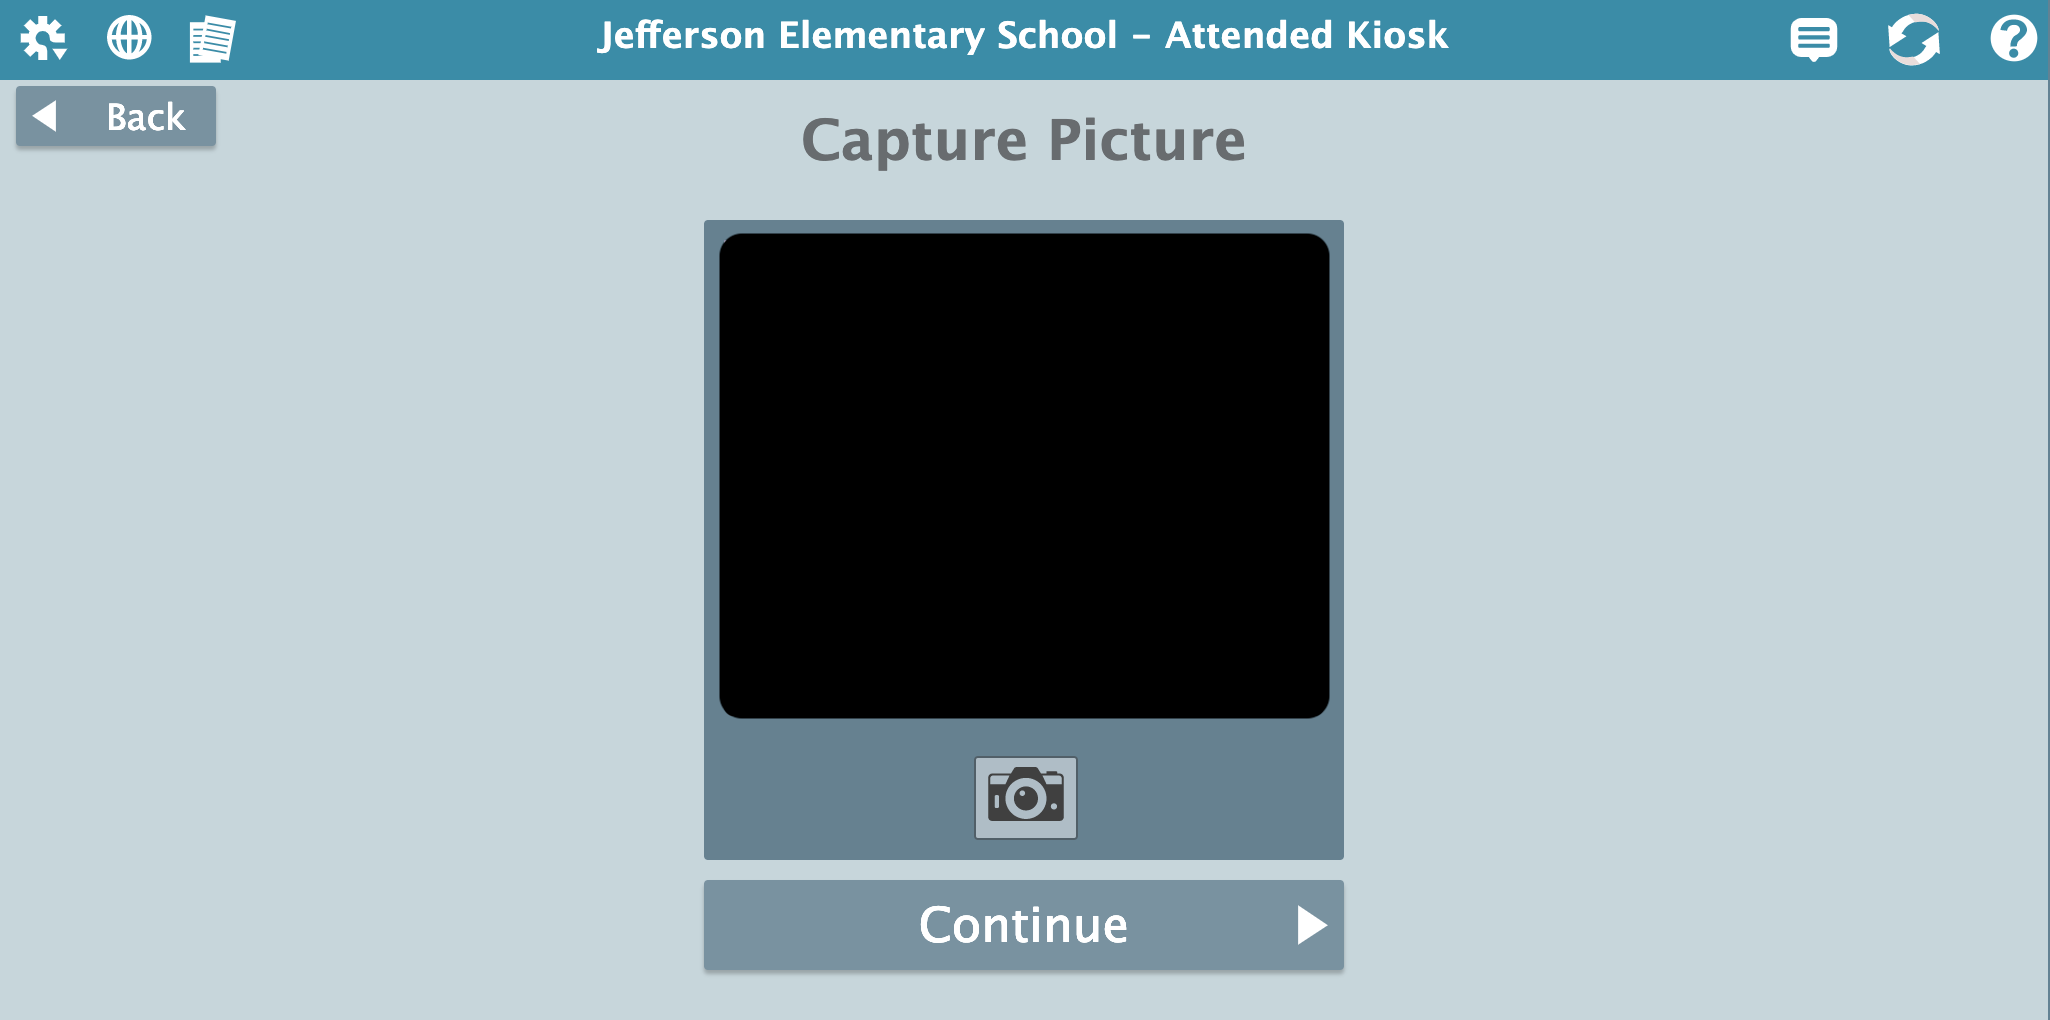
If they don’t have a photo, the ‘take picture’ screen will come up automatically.
If they already have a photo, click the Take Picture button underneath their picture.
The new picture will immediately save to their person record.
- In Person Management
Take Pictures
There are a few places you can take pictures in KeepnTrack.
You must have a built-in or attached web camera set up to take pictures. To get your camera to work with KeepnTrack, you'll need to adjust a few settings in Workstation Management.
- Go to Scanners & Camera and turn on Look for Camera.
- From Station > Camera and Printer Settings, set the dropdown to Camera, and make sure Show Camera is set for the appropriate classifications. This is also where you can choose whether or not to require pictures.
Attended or Self-Service Kiosk
When someone signs into the Attended or Self-Service Kiosks, there will be the option to take or retake their picture.
If they don't have a picture, the Capture Picture screen will come up automatically after scanning or entering their information.
Once you click the camera icon to take the picture and hit Continue, it will be saved to their person record.
If they already have a picture, clicking the Retake button will open the Capture Picture screen.
Person Management
- Locate the person record, and
 unlock it.
 - Select Take Picture from the
 Actions menu. This will activate the camera.
 - Click on the camera icon to take the picture.
- Choose whether to Save or Retake the picture.
Add Pictures
Remove Pictures
There are two ways to remove pictures on people records:
- Individually.