Pardon the mess! The Support Center is undergoing construction.
 ![]()

How helpful was this page?
Related Blog Posts
Blog Posts
-
Tip compilation: end-of-year edition
created by
May 17, 2023
-
Update title records with exports & imports? Yes, you can!
created by
Jan 19, 2022
-
Analyze your collection—Mitinet and Titlewave
created by
Aug 06, 2021
-
Exports—Move and modify data
created by
May 05, 2021
-
Export Patron Fines
created by
Apr 27, 2015
Saved Exports
Last Updated: $action.dateFormatter.formatDateTime($content.getLastModificationDate())

Saved Exports
![]() Tools > Export > Saved tab
Tools > Export > Saved tab
Alexandria makes it easy to build your own frequently-used, custom exports. The Saved tab contains custom exports that you (or others) have created, saved, and shared. Keep in mind that saved exports only retain the selection criteria used to create the export, not the results of the export itself.
Select a export from the Export Selection pane to populate the Selected Export pane below. Saved exports tabs—Overview, Selections, Options, Notification, Schedule, and FTP—contain settings that are essential to how your exports are ordered, organized, and presented.
Saved exports can then be run, modified, duplicated, or removed.
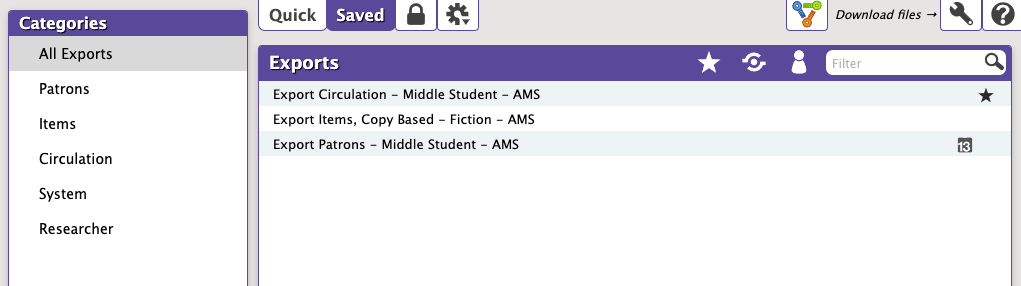
Categories
Exports are organized in categories in a list on the left side of the window. Select a category to view the list of associated exports in the Export Selection pane to the right.
- All Exports. This category contains all the available export types.
- Patrons. These allow you to export records for all (or a specified group) of patrons.
- Items. Title- and copy-based exports allow you to archive your item information, create catalogs for selected items, or modify item information using applications outside of Alexandria.
- Circulation. These allow you to export miscellaneous circulation-based data not covered by the other export types.
Remember, the list of available exports depends on both the category you've selected and whether you're in the Quick or Saved tab.
Export Selection
Once you've selected a category, the associated exports will be listed in the Exports Selection pane on the right. Scroll through the list to locate and select the specific export you would like to view, modify, or run. You can search for a specific title in the filter bar and further narrow the list of exports by Favorites, Shared, and Operator (exports saved by you).
Remember, the exports that appear in the Export Selection pane directly relate to the category you've selected and the term(s) you've entered in the search filter.
Once you've selected a category, the associated exports will be listed in the Exports Selection pane on the right. You can further narrow your the exports using filters. In some ways, these filters far surpass the usefulness of the Categories pane. In fact, you may find yourself never using the Categories filters again, preferring instead to use the All Exports category in conjunction with the filter bar.
 Favorite. See the exports marked as Favorite.
 Shared. See the exports marked as Shared.
 Operator. See the exports that you (the current operator) have saved.
 Filter. Enter a term to filter the exports by title.
Once you've sufficiently narrowed your filter criteria, scroll through the Export Selection list to locate and select the specific export you would like to view, modify, or run. The export will populate in the tabs below. To edit the record, click the padlock icon to unlock it, then modify the data in each tab per your specifications, and click Save when you're done. Click Run to run the export.
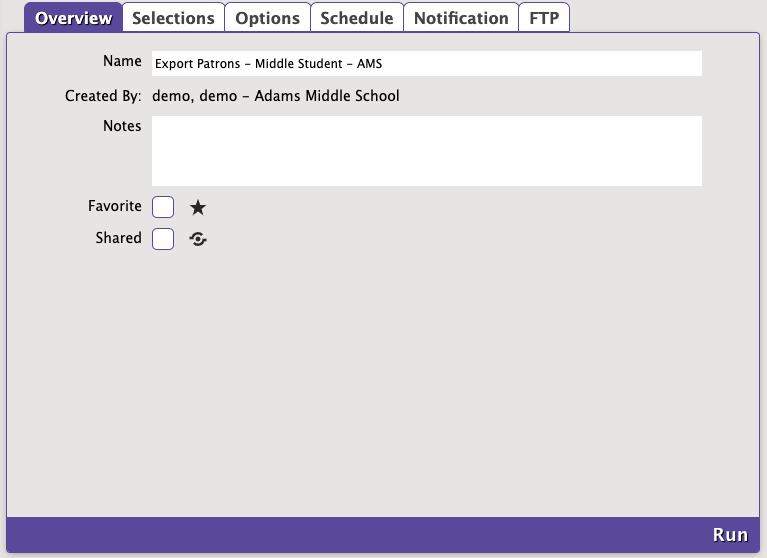
Overview
![]() Tools > Export > Saved tab
Tools > Export > Saved tab
The Overview tab serves as an export summary. It includes the title (e.g. Export Unpaid Fines), export creator, usage notes (e.g. Run at the end of each month to import into our money management software.), and allows you to mark it as a favorite or shared.
Settings
Name
Enter or edit the name of the export here (e.g. Export Unpaid Fines).
Created By
This information is automatically populated with the creator's name and site ID code.
Notes
You can provide general usage notes here.
Favorite
Mark the export as a favorite. You can filter the results in the Export Selection pane to show only those marked as Favorite, which is especially helpful if you find yourself running the same exports regularly.
Shared
Mark the export as shared. You can filter the results in the Export Selection pane to show only those marked as Shared. Sharing frequently-used exports with other operators is often helpful when particular exports are frequently performed.
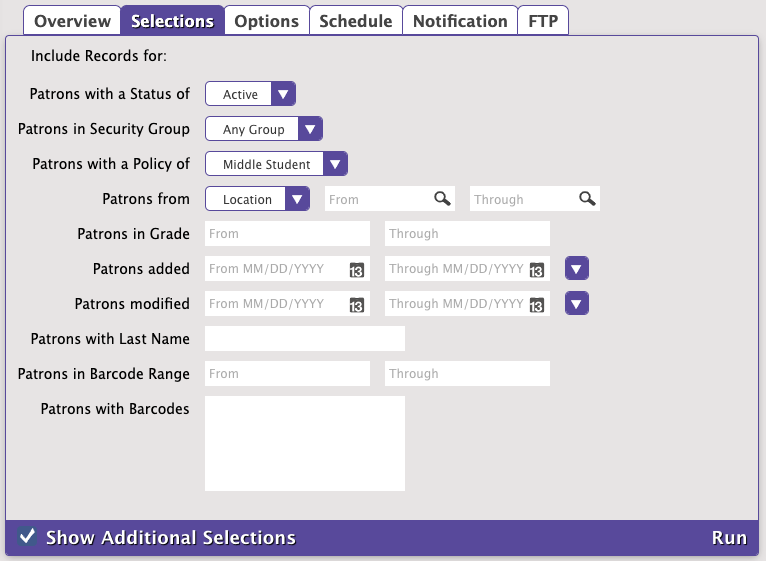
Selections
![]() Tools > Export > Saved tab
Tools > Export > Saved tab
The Selections tab is where you build, format, arrange, limit and/or expand the export to suit your needs. If you find some of your exports lacking the necessary selection information, try checking the Show Additional Selections box for more options. The settings in this tab vary per export.
Options
![]() Tools > Export > Saved tab
Tools > Export > Saved tab
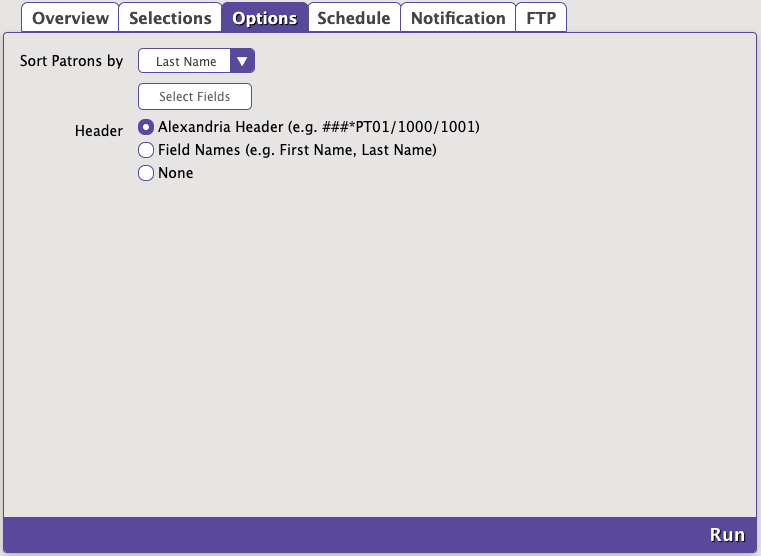
Choose sort and format options here. The settings in this tab vary per export.
Schedule
![]() Tools > Export > Saved tab
Tools > Export > Saved tab
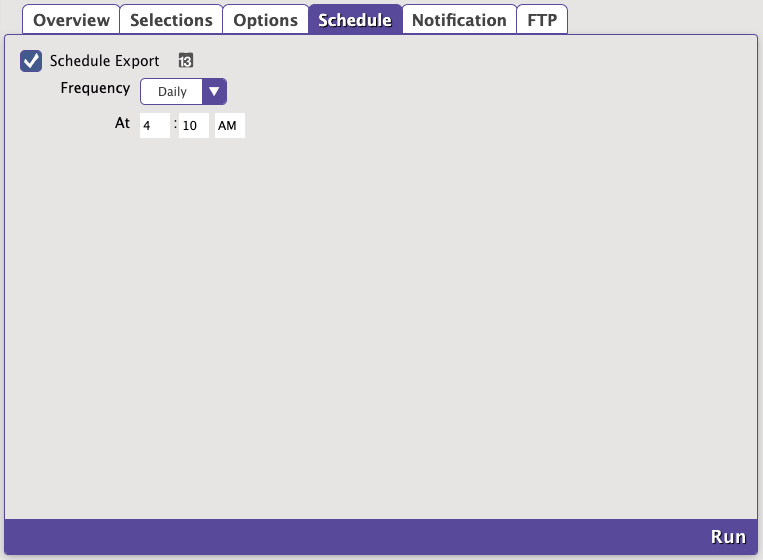
Use these settings to schedule this export to run on a regular basis. For example, if you want it to run every Saturday at 10:00 p.m, set the following:
- Frequency: Weekly
- On: Saturday
- At: 10:00 PM
The scheduled time is the time the export is added to your Operations queue. Depending on how busy your queue is, the export may or may not be complete at that exact time.
Settings
Schedule
Check this box to unlock the scheduling capabilities.
Frequency
This dropdown menu allows you to specify how often you would like to repeat this export: Once, Daily, Weekly, Monthly, or Yearly.
On
The options here depend on the frequency you selected above.
Once. Choose the date to run this export.
Daily. On options are not necessary.
Weekly. Choose the day the export will run each week.
Monthly. Choose the date the export will run each month.
Yearly. Choose the month and date the export will run each year.
At
Choose the time of day, including a.m. or p.m., to run the export.
Notification
![]() Tools > Export > Saved tab
Tools > Export > Saved tab
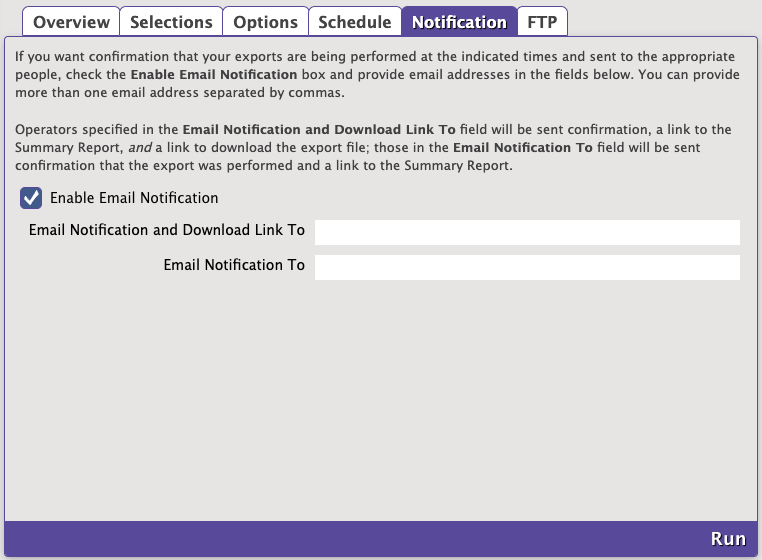
Here you can enable an email confirmation and link to download the file to be sent to the recipient(s) of your choice once the export is complete.
Settings
Enable Email Notification
Check this box if you want to enable email notifications to be sent upon completion.
Email Notification To
Enter the recipient email addresses. You can provide more than one email address separated by commas.
- For example: johndoe@examplelibrary.com,janedoe@examplelibrary.com
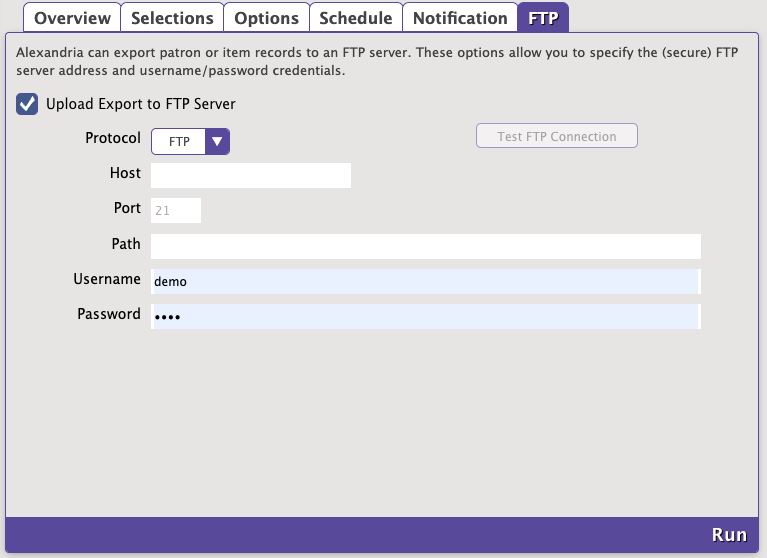
FTP
Textbook Tracker can save finished exports to an FTP server. These options allow you to specify the (secure) FTP server address and uername/password credentials.