Pardon the mess! The Support Center is undergoing construction.  


Save as PDF

Notices

Last Updated: $action.dateFormatter.formatDateTime($content.getLastModificationDate())


Coming soon: Reports will be split up into 3 types—informational Reports, email Notices, and Labels! We’ll be sharing betas with our users in upcoming months.


Complete Notices List

Notice NameNotice Description
Account Expiring NoticeEmails patrons whose accounts are expiring in the next 30 days

Account Introduction

Informational slips for patrons with their login credentials and other important library information
Coming Due Items NoticeNotices for patrons letting them know that their items are due soon
Damaged Items NoticeNotices and/or mailing labels for parents of patrons with damaged item fees
In-Stock Hold NoticeNotices for patrons letting them know that an in-stock hold is ready for them to pick up
Loaned Items NoticeNotices to inform patrons of items they currently have checked out. 
Overdue Items NoticeNotices for patrons with items that are overdue
Overdue Items or Unpaid Charges NoticeNotices for patrons with overdue items and/or unpaid charges
Send EmailSends out a customizable email to a selection of patrons
Send Patron Details EmailSends out an individualized Details report to selected patrons
Suspended PatronsList of patrons with a Suspended status and/or suspension notice letters for both patrons and parents
Unpaid Charges NoticeNotices for patrons with charges, fines, and/or fees that haven't been paid yet

Notices allows you customize and save the email and print notices that you send to your patrons. 

Navigation

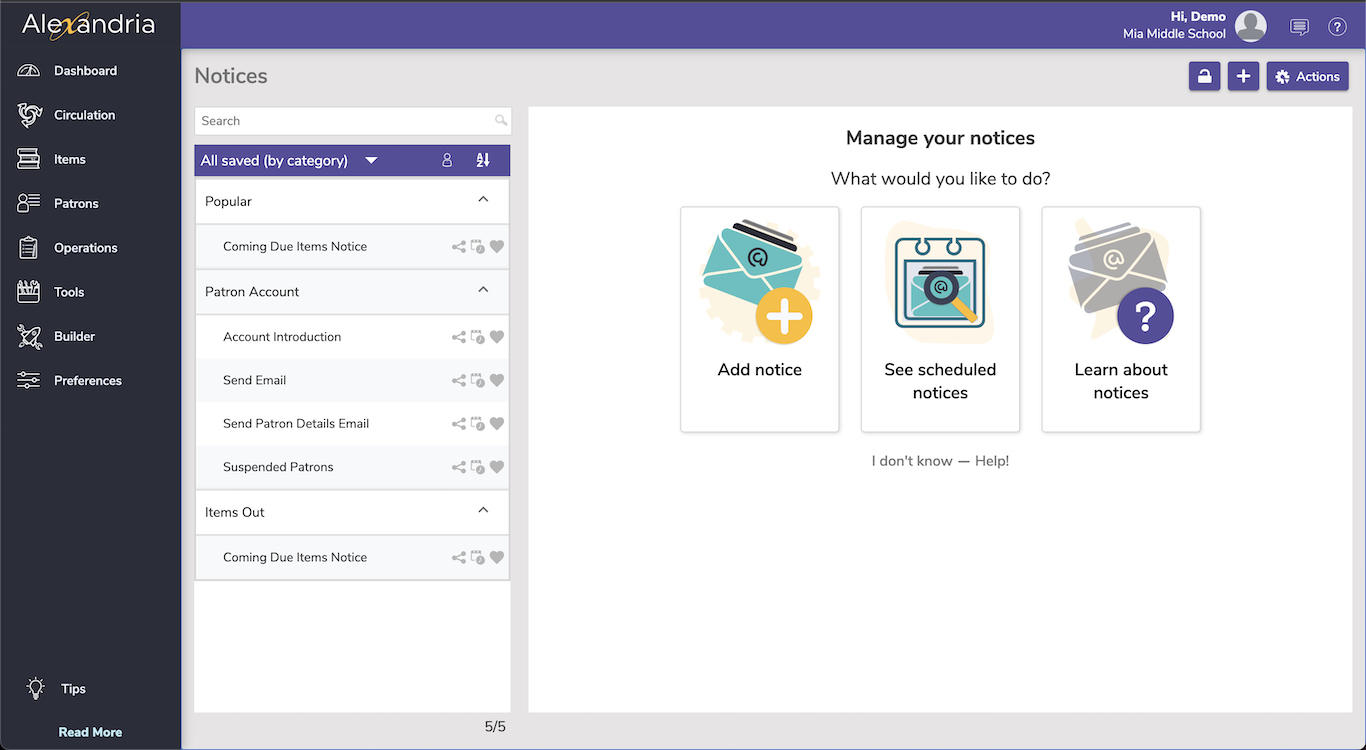
Notices contains a few different areas, including:

  • The top menu, which includes the Lock Icon, the to add a notice, and the Actions menu. 
  • The records list on the left side, where you can sort/ filter notices.
  • The details pane, which shows the Add notice, See scheduled notices, and Learn about notices buttons, until a notice is selected, when it will show the details of the selected notice. 

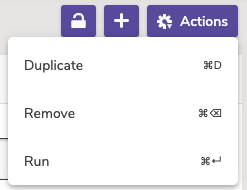
Actions Menu 


  • Duplicate. Duplicate the selected notice. 
  • Remove. Remove the selected notice. 
  • Run. Run the selected notice. 

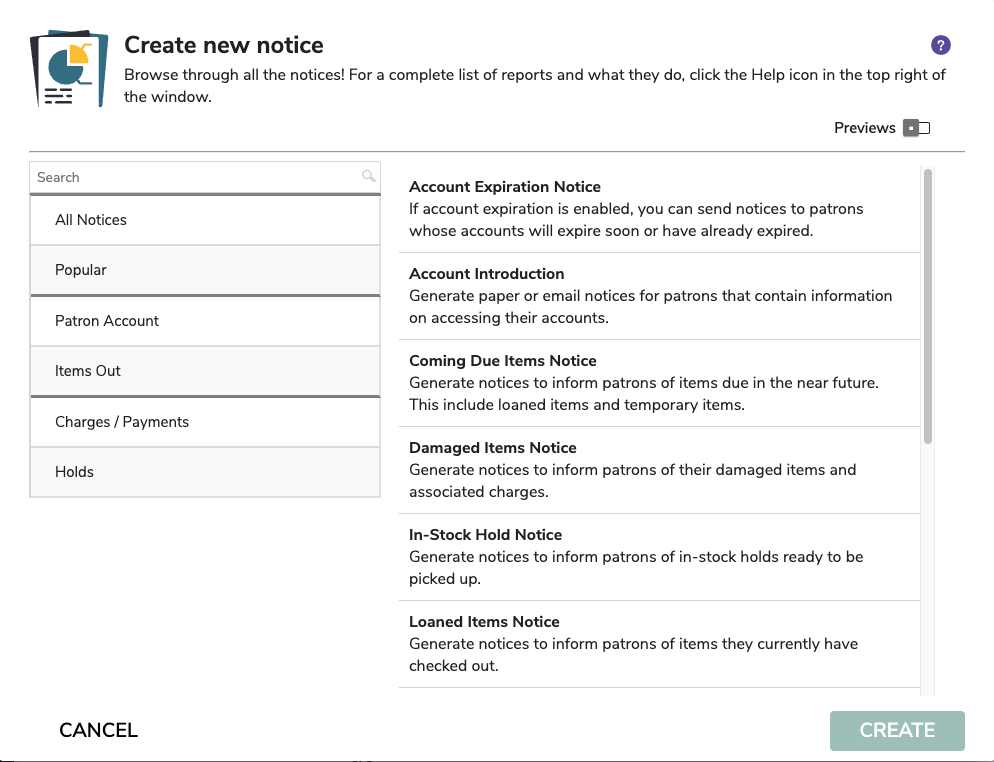
Create new notice

The notice templates are listed by category on the left, with more description of the report on the right, and an example PDF (if the Preview option is toggled). 

Overview

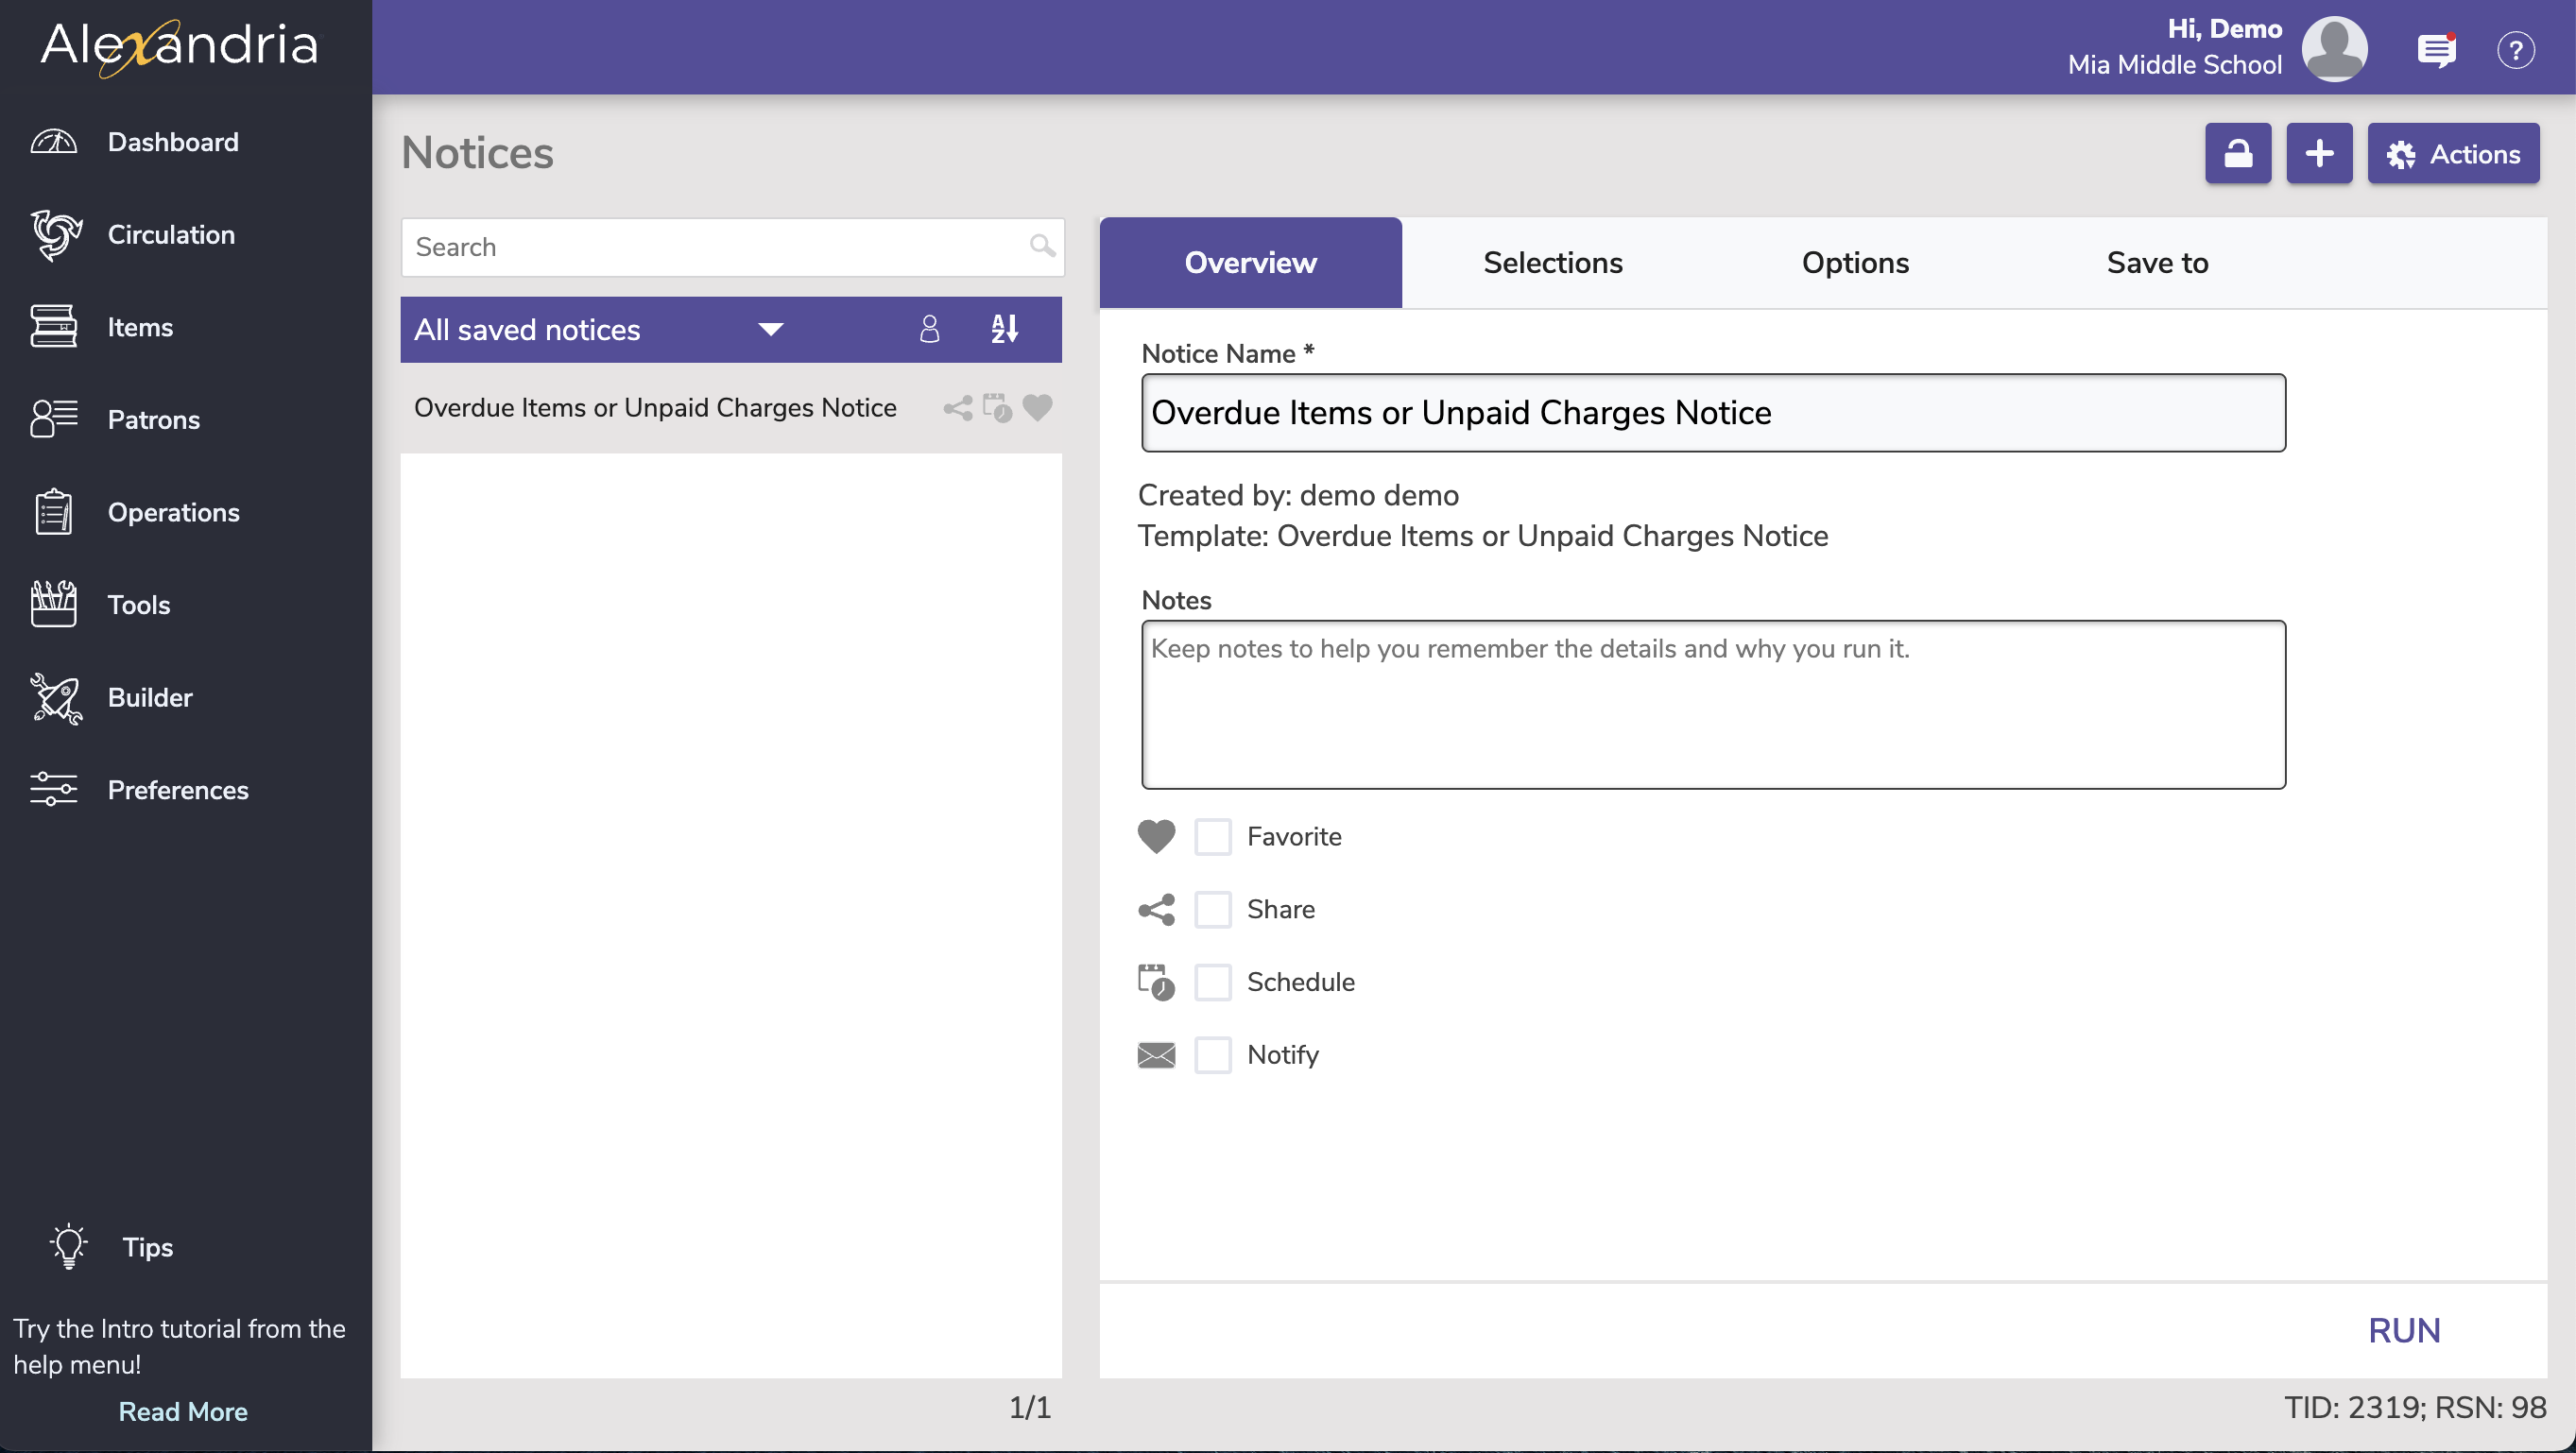
The overview tab shows the Notice Name, who created the report, any notes about the report, as well as selections to Favorite, ShareSchedule, and Notify

Name. Enter or edit the name of the notice here.

Created By. This information is automatically populated with the notice creator's name and site ID code.

Notes. You can provide general usage notes about the notice here (e.g. Notice created for Marjorie - Run daily!).

Favorite. When this option is checked, the notice is classified as a “favorite.” This is especially helpful if you find yourself creating the same notices regularly.

Share. Shares the notice across all sites (for accounts with multiple sites).

Schedule. Check this box to unlock the notice scheduling capabilities. The Frequency dropdown menu allows you to specify how often you would like to create your notice. You can select Once, Daily, Weekly, Monthly, Yearly from this drop-down menu. Use the Around dropdown to choose a general time for your notice to run.

Notify. Check this box if you want to enable email notification, sent upon notice completion.

  • Email Notification and Download Link To. In this field, provide the operator email addresses that Alexandria will use to send confirmation emails, a link to the Operation Summary, and a link to download the notice.
  • Email Notification To. In this field, provide the email addresses that Alexandria will use to send notification emails when the notices have finished sending and a link to the Operation Summary; you can provide more than one email address separated by commas.

Selections

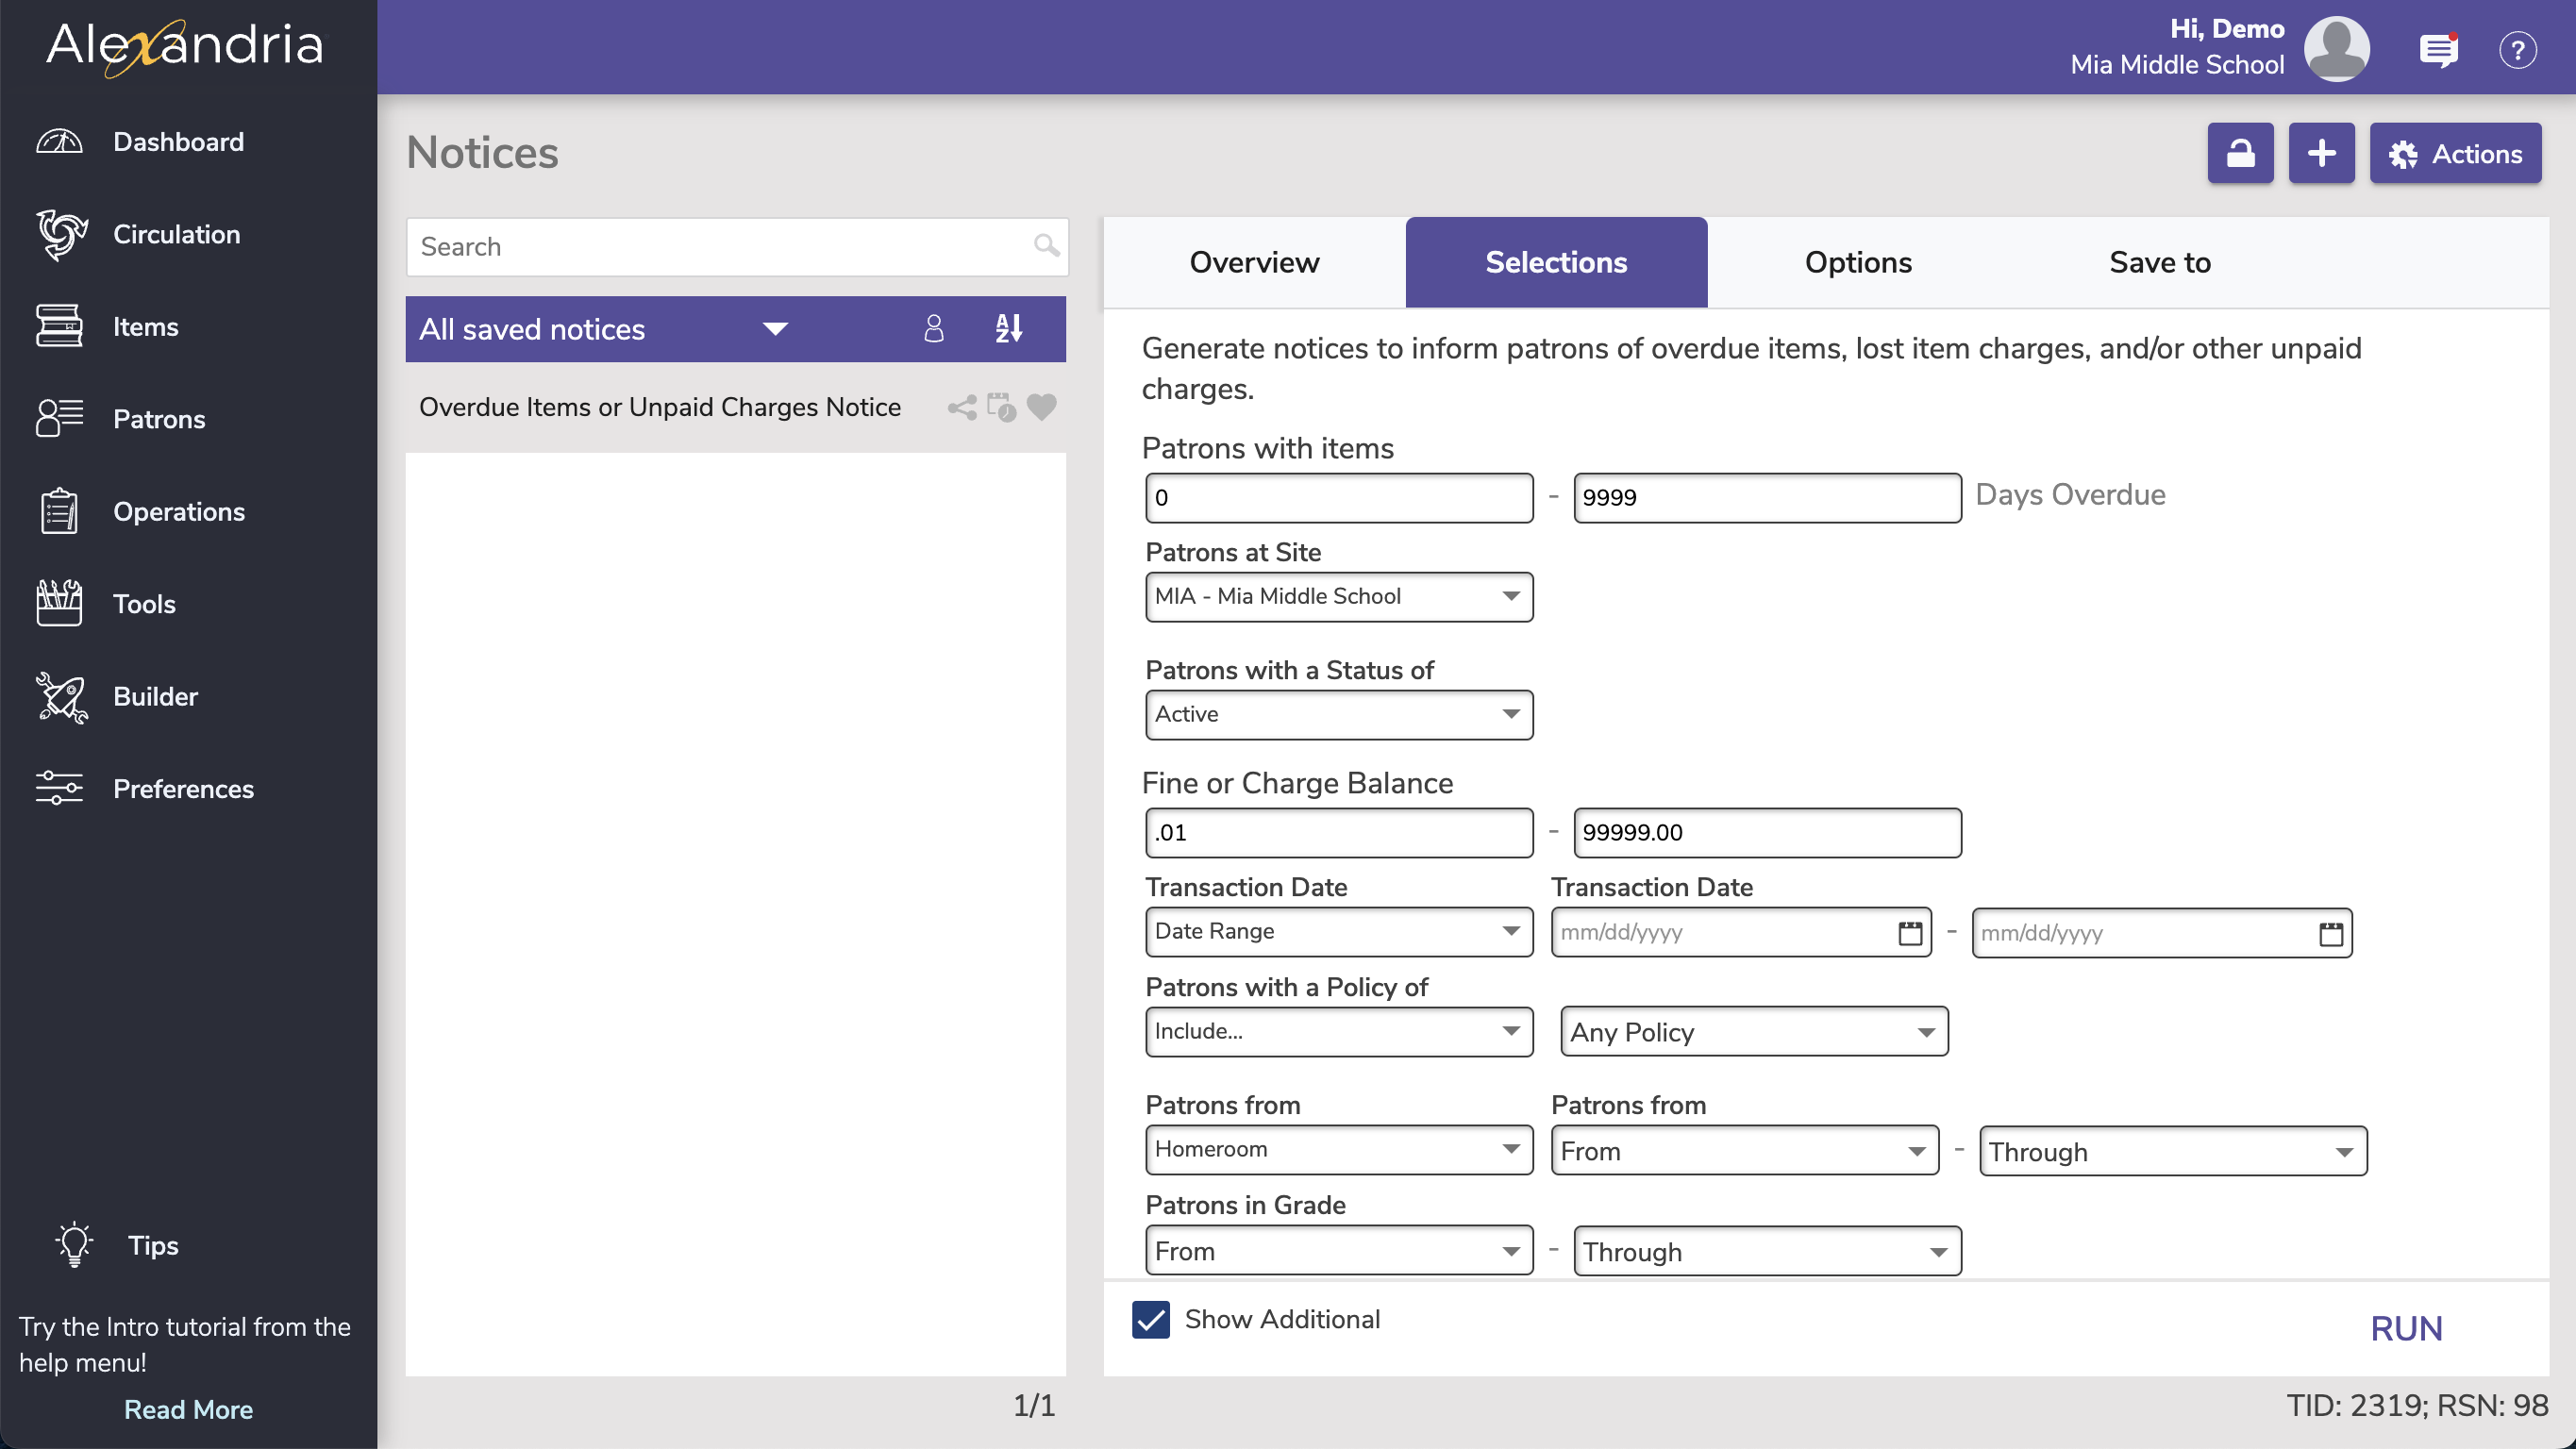
The Selections tab is where you build the notice to suit your needs. If you find some of your notices lacking the necessary selection information, try checking the Show Additional box for more options. The settings in this tab vary per notice.

Options

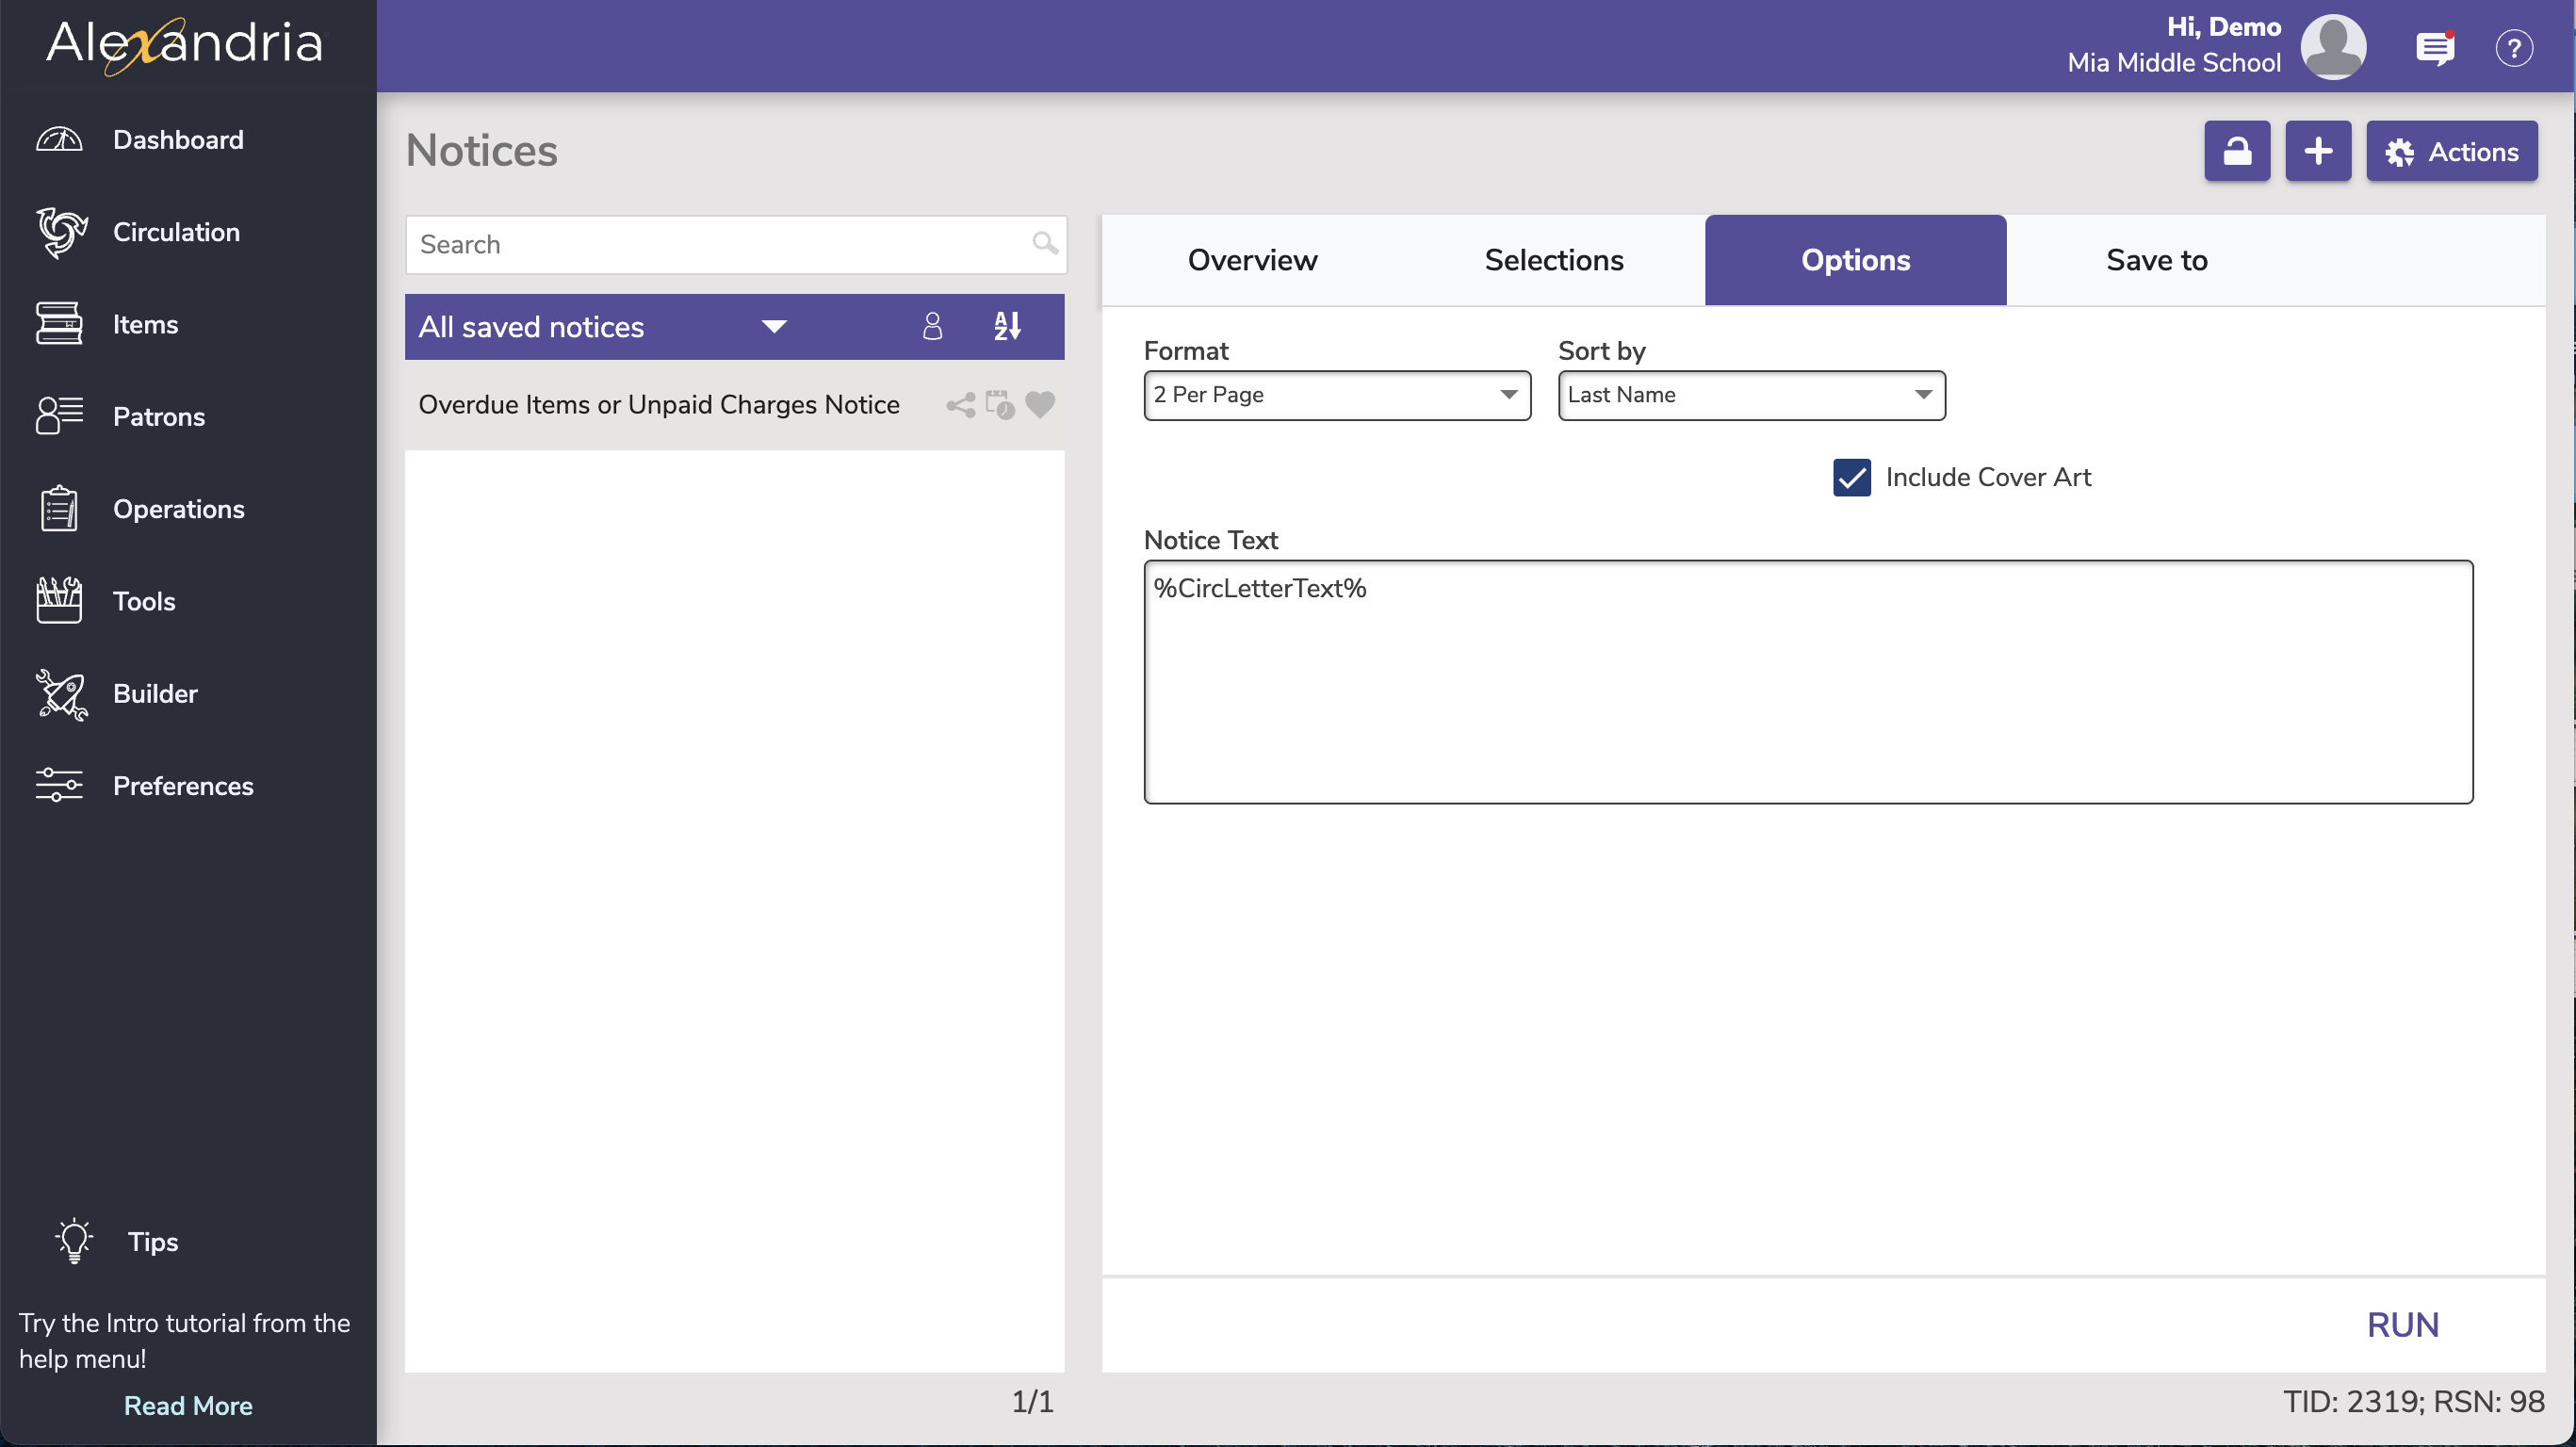
Choose how to Format and Sort your notices in the Options tab.

Save to

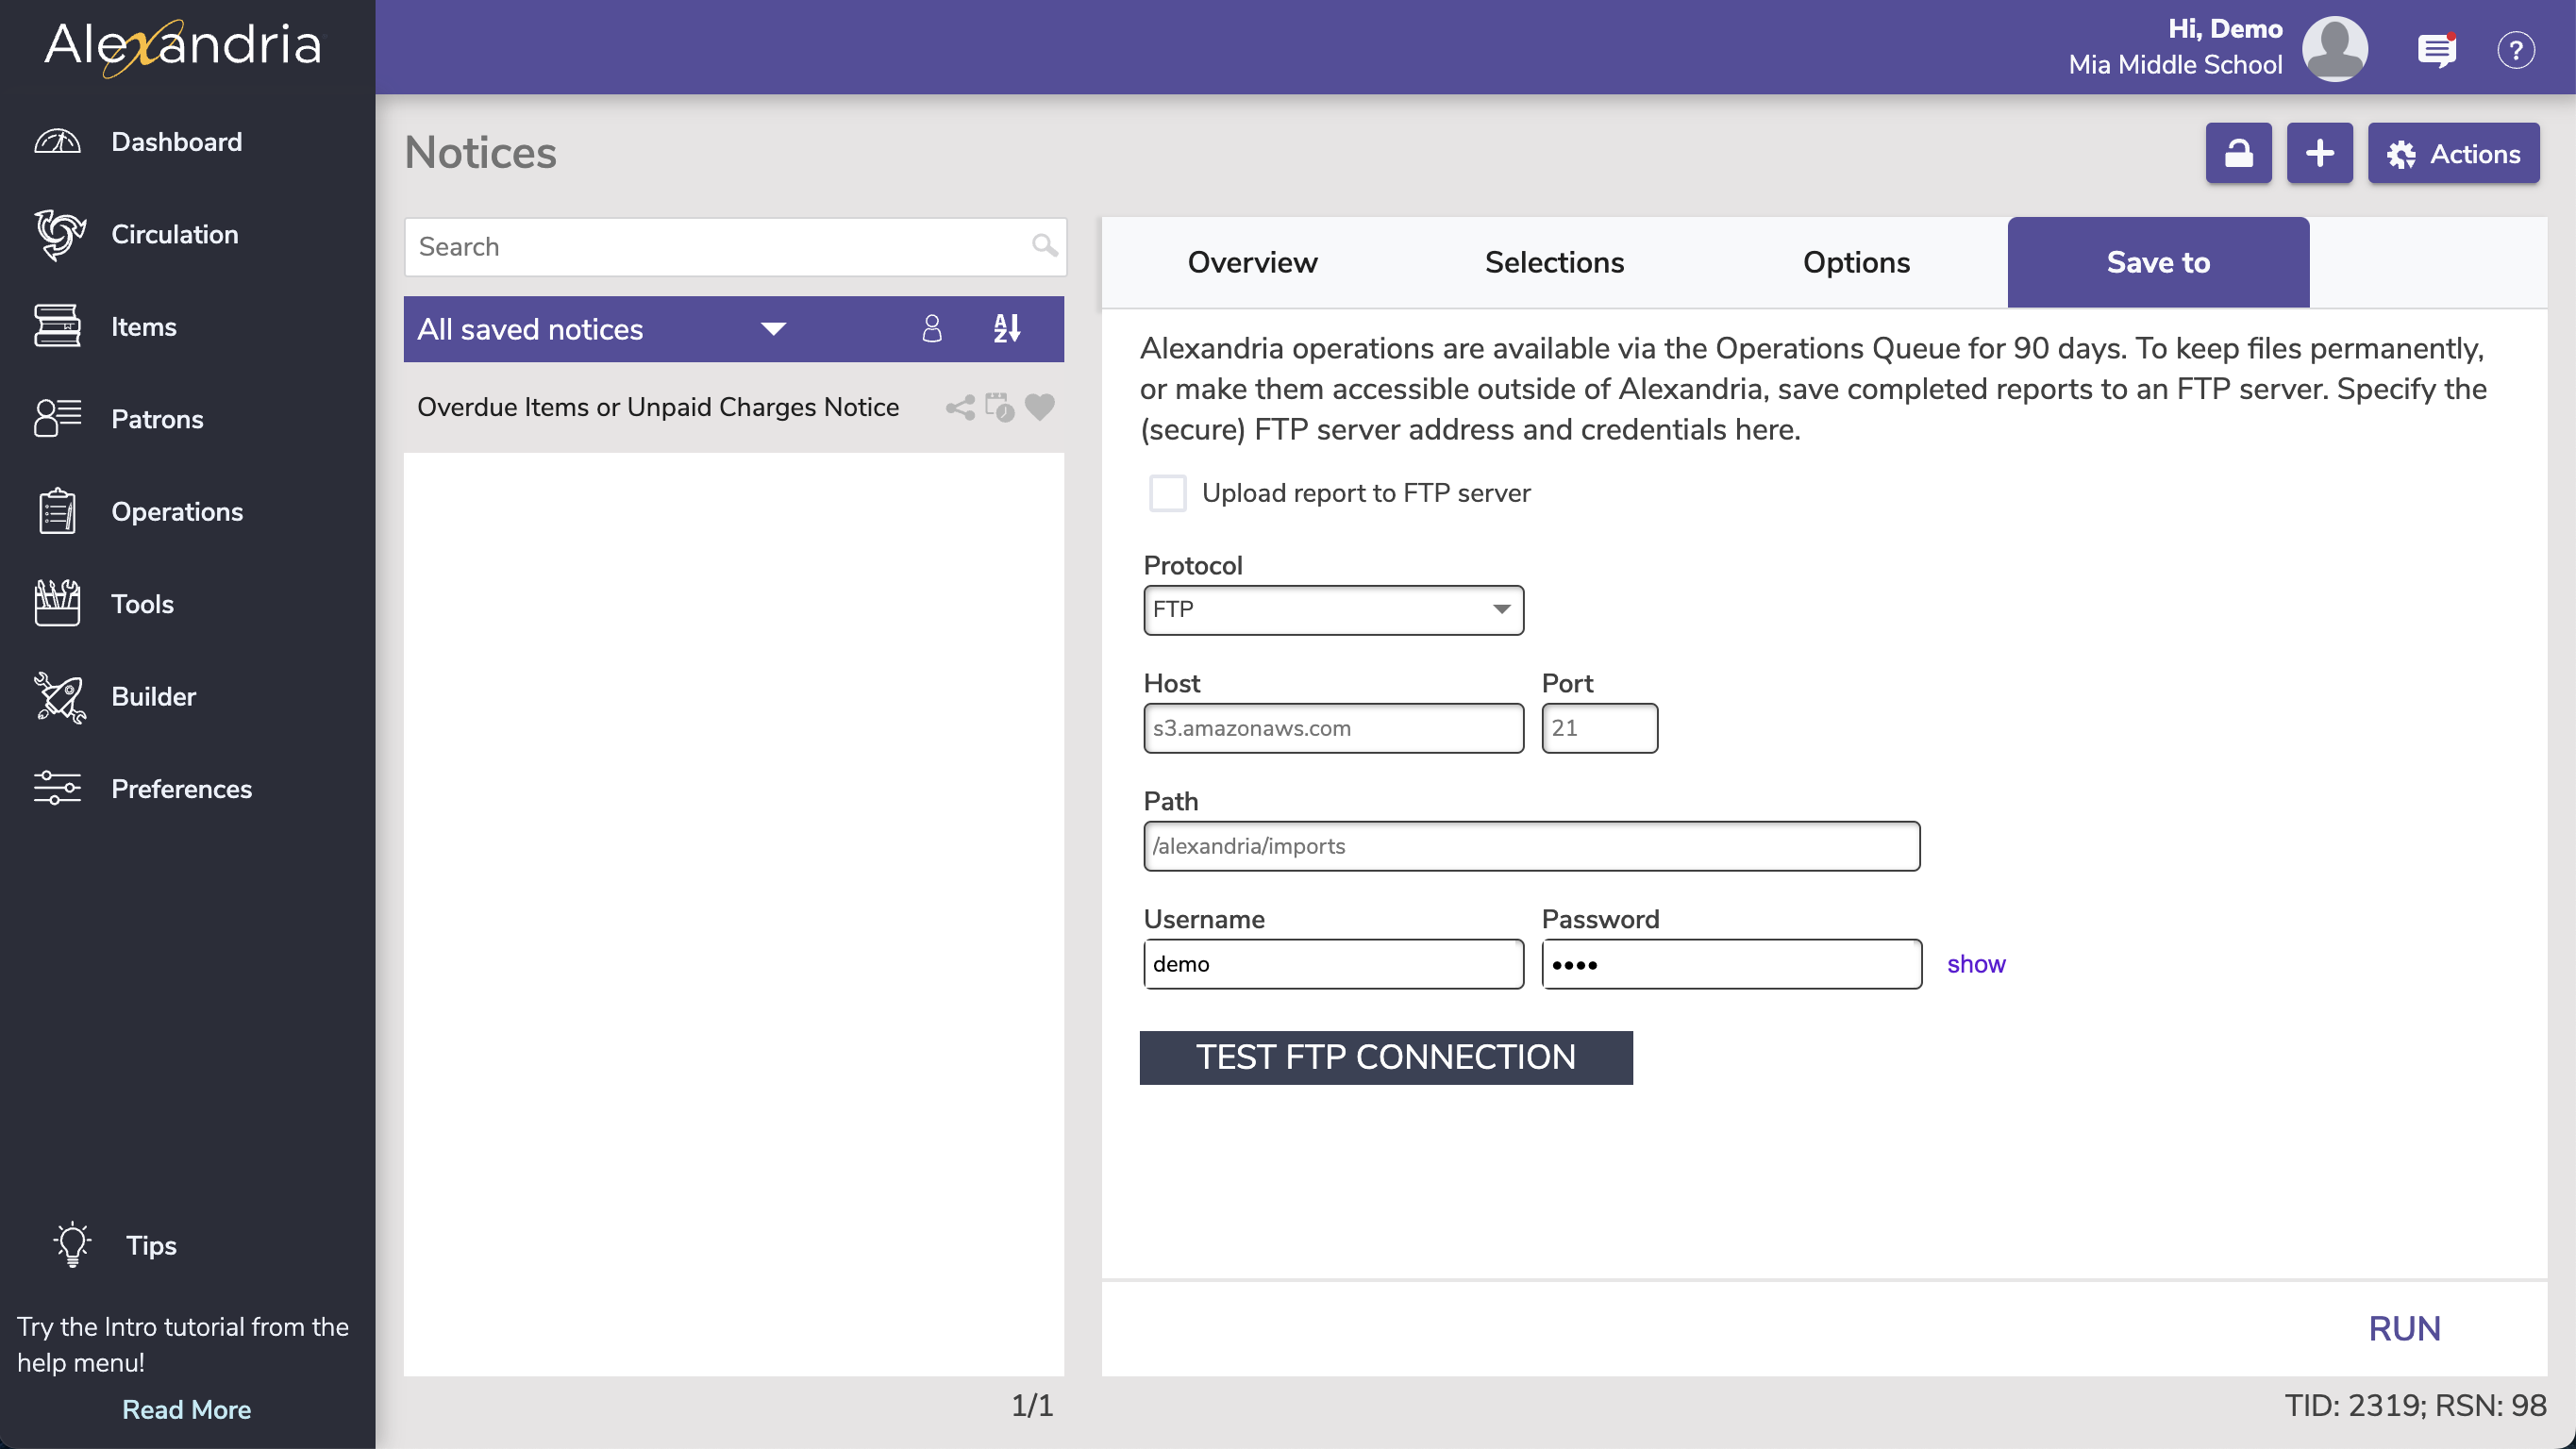
Alexandria can save finished notices to an FTP server. These options allow you to specify the (secure) FTP server address and uername/password credentials.

Protocol. If you'd like a more secure transmission that hides the username/password and encrypts the file content, FTP can be secured with SSL/TLS (i.e. “ftps://”). Be aware that the name “Secure FTP” can be confusing because it refers to two completely different protocols: “SFTP” and “FTPS”. Whenever the term Secure FTP is used, it is necessary to specify whether the SSH-based or SSL-based file transfer protocol is meant. Alexandria supports FTPS; the SSL-based file transfer protocol.

Host. Enter the host name or IP address of the FTP server without the URL protocol. For example, myserveraddress.com. Don't worry about including the URL protocol/scheme (e.g. “ftp://”) as this is automatically appended before the host name depending on your Protocol selection (above).

Port. While FTP typically runs over TCP port 21, FTPS (SSL/TLS) typically runs over port 21 or port 990. If you don't have permission to open multiple ports, both unencrypted FTP and encrypted FTPS will run over port 21.

Path. Enter the full path including directories and filename, such as /directory/subdirectory/filename.txt

Username and Password. Enter your FTP login credentials. If your FTP server is Provide a clear-text authentication and sign-in protocol in the form of a username and password. If your FTP server is configured to allow it, you can connect anonymously without having to enter anything