The Support Center has moved!! See the new website https://support.goalexandria.com/ ![]()

Items
The root page ALEX:Items could not be found in space Alexandria.
Related Blog Posts
Blog Posts
-
Items: a few things you may not know...
created by
Apr 12, 2023
-
Searching by Subject
created by
Nov 16, 2022
-
Assigning policies–the complete guide
created by
Mar 23, 2022
-
Title Assistant to the rescue!
created by
Jan 27, 2022
-
Overdue Items Notices? We've got you cover-ed
created by
Nov 24, 2021
-
Search smarter!—Combine search results
created by
Oct 13, 2021
-
Using Contents Notes
created by
Sep 23, 2021
-
Introducing... FAQs!
created by
Jul 07, 2021
-
Changing call numbers—helpful utilities
created by
Mar 03, 2021
-
From our librarians—Reusable book menu cards
created by
Nov 18, 2020
Item Editors

Item Editors
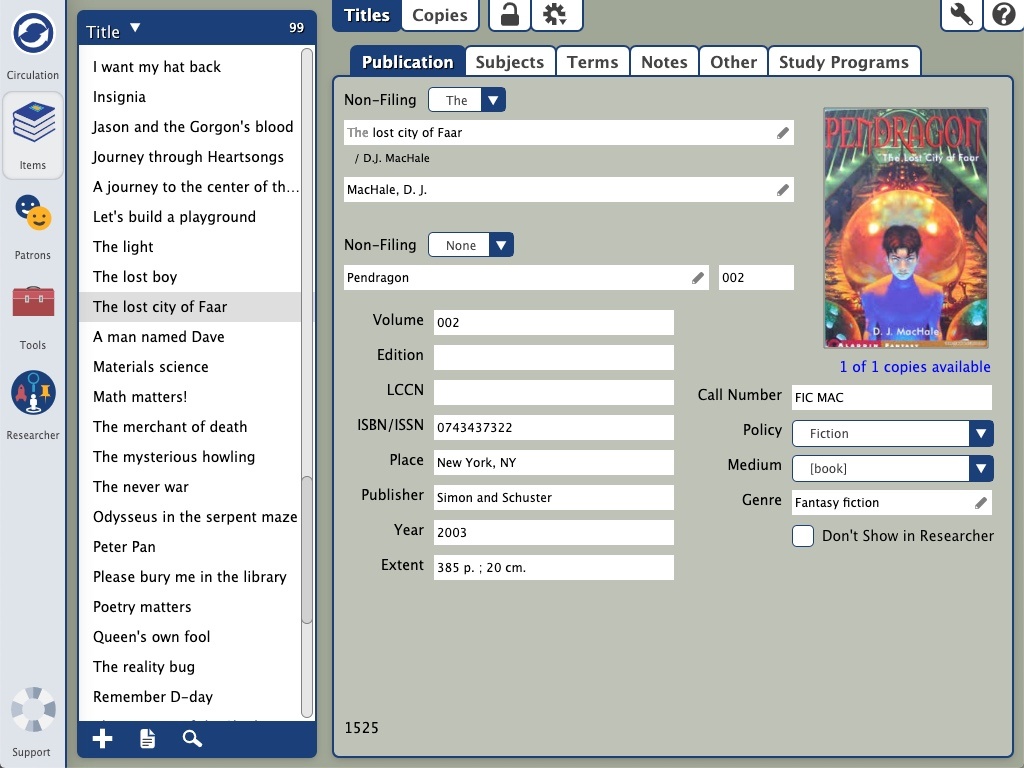
![]() Items > Titles tab
Items > Titles tab
Item Editors allow you to customize the MARC record for an item without having to Toggle MARC view. You can edit the Title, Author, and Subjects for any item in your library, and the new information will then be reflected on the item's MARC record. You will need to be on the Title tab of the item record in order to make these changes. You may review the Library of Congress webpage for additional information about MARC record standards.

To access the item editors:
- Go to the Items module.
- Select the Titles tab at the top of the window.
- Look up the title you want to edit.
- Click the padlock icon at the top of the window to unlock the item for editing.
Now you're ready to go.
Item Editors
Item Editors allow you to customize the MARC record for an item without having to Toggle MARC view. You can edit the Title, Author, and Subjects for any item in your library, and the new information will then be reflected on the item's MARC record. You will need to be on the Title tab of the item record in order to make these changes. You may review the Library of Congress webpage for additional information about MARC record standards.
To access the item editors:
- Go to the Items module.
- Select the Titles tab at the top of the window.
- Look up the title you want to edit.
- Click the padlock icon at the top of the window to unlock the item for editing.
Now you're ready to go.
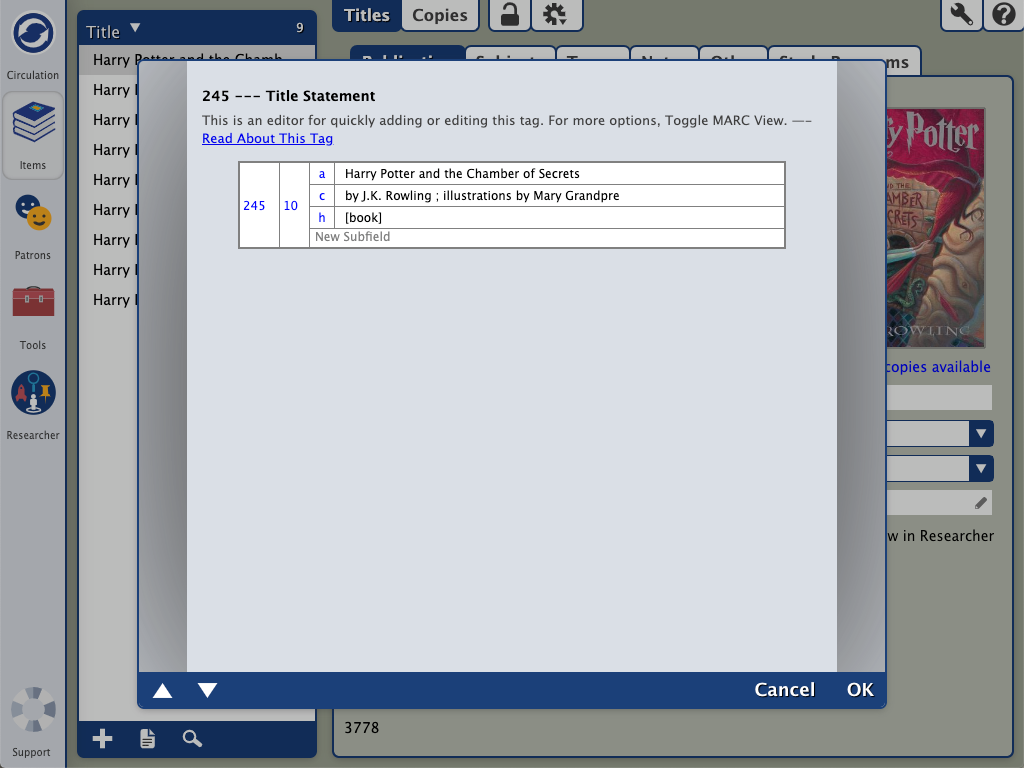
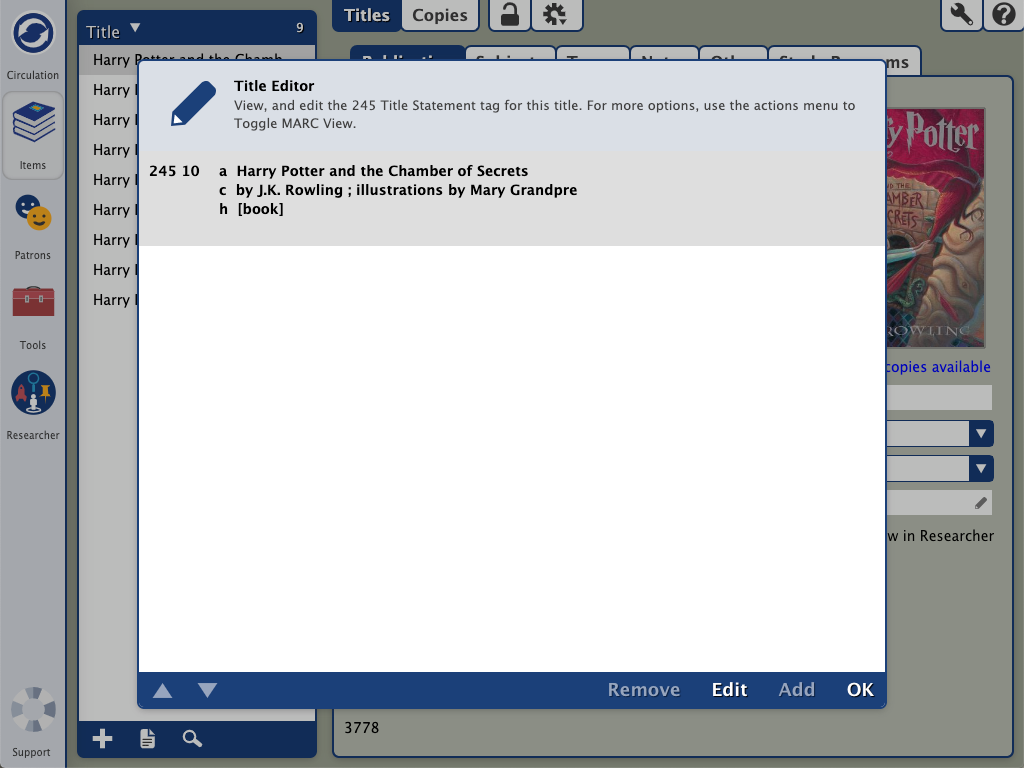
Title Editor
The Title Editor allows you to view and edit the 245 Title Statement tag.


- Unlock the record by clicking the padlock icon.
- Click the pencil icon in the Title field.
Select the 245 field and click Edit.
Make any necessary changes to the 245_a field, and then click OK.
On the title Editor window, click Close.
In the top right corner of the Items window, click Save.
Lock record by clicking the padlock icon.
Title Editor
The Title Editor allows you to view and edit the 245 Title Statement tag.
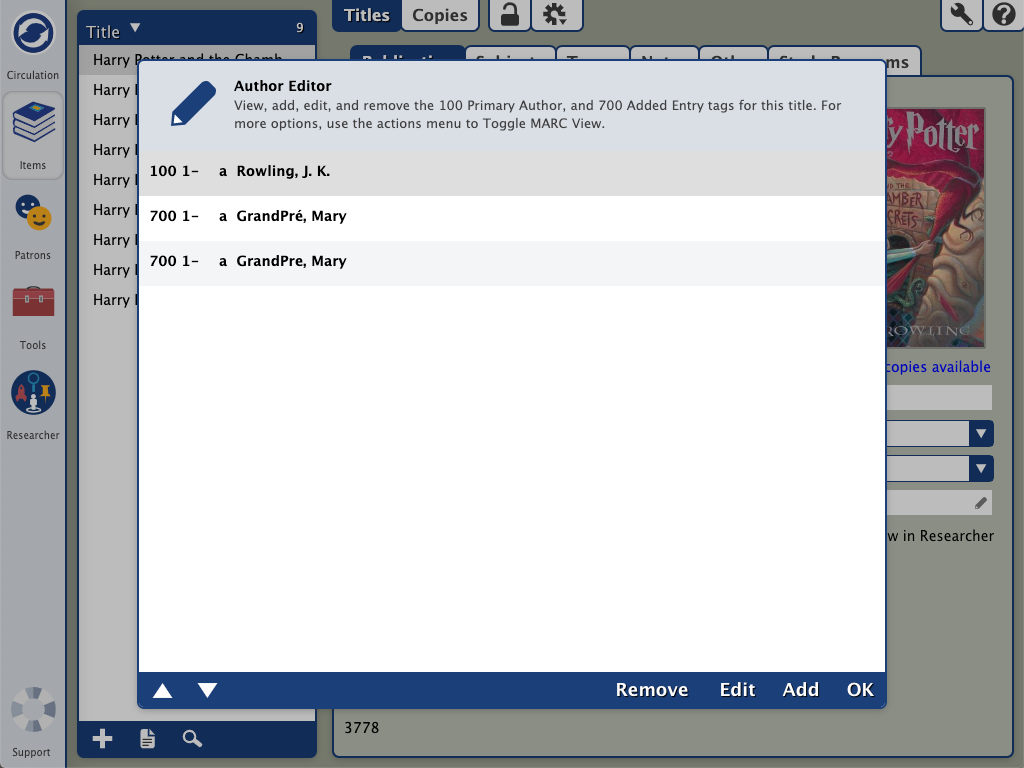
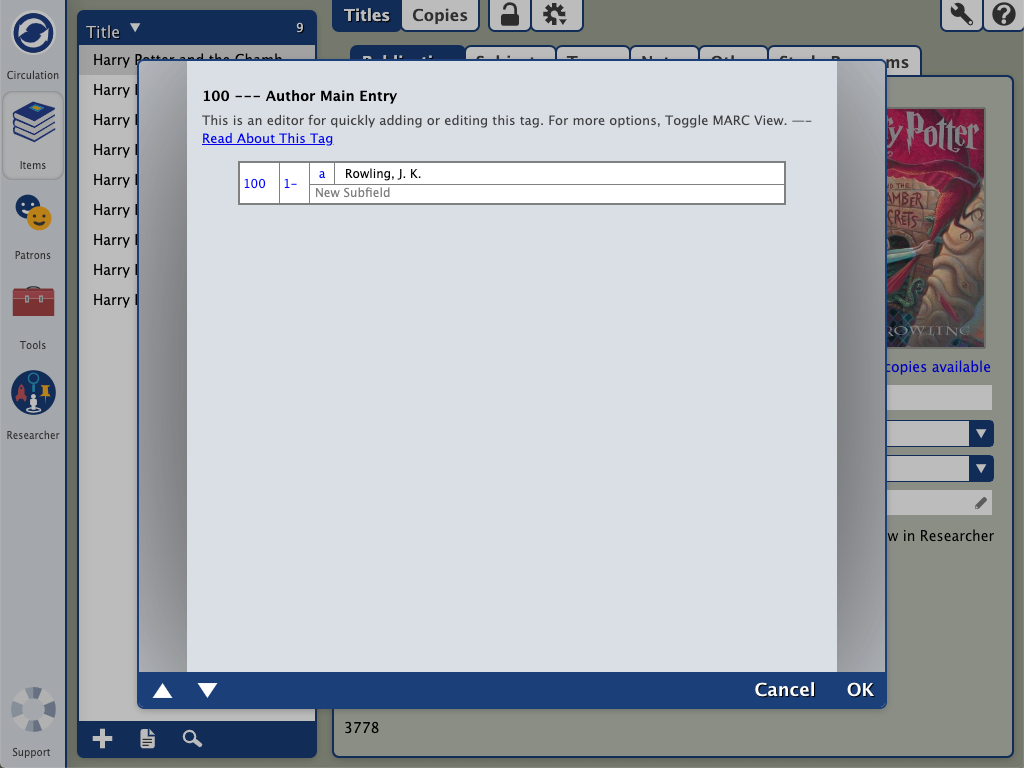
Author Editor
The Author Editor allows you to view, add, edit or remove the following Author tags:
- 110 - Author Main Entry - Corporate Name
- 222 - Author Main Entry - Meeting Name
- 700 - Author Main Entry - Personal Name
- 710 - Author Main Entry - Corporate Name
- 711 - Author Main Entry - Meeting Name
Before you can make any changes, click the![]() padlock icon to
padlock icon to![]() unlock the record. Then when you're done, click the icon again to lock the record.
unlock the record. Then when you're done, click the icon again to lock the record.
Edit an Author Tag
- In the Author field, click the
 pencil icon to open the editor.
 - Select the tag you wish to change.
Click Edit.
Make any necessary changes to the tag, then click OK.
Close the Author Editor window.
Click Save.
Add an Author Tag
- In the Author field, click the pencil icon to open the editor.
- Click Add.
- Choose the MARC tag you wish to add.
Enter MARC information in the corresponding fields.
Click OK.
Close the Author Editor window.
Click Save.
Remove an Author Tag
- Click the pencil icon in the Author field.
- Select the tag you wish to remove.
- Click Remove.
- Close the Author Editor window.
- Click Save.
Author Editor
The Author Editor allows you to view, add, edit or remove the following Author tags:
- 110 - Author Main Entry - Corporate Name
- 222 - Author Main Entry - Meeting Name
- 700 - Author Main Entry - Personal Name
- 710 - Author Main Entry - Corporate Name
- 711 - Author Main Entry - Meeting Name


Before you can make any changes, click the![]() padlock icon to
padlock icon to![]() unlock the record. Then when you're done, click the icon again to lock the record.
unlock the record. Then when you're done, click the icon again to lock the record.
Edit an Author Tag
- In the Author field, click the
pencil icon to open the editor.
- Select the tag you wish to change.
Click Edit.
Make any necessary changes to the tag, then click OK.
Close the Author Editor window.
Click Save.
Add an Author Tag
- In the Author field, click the pencil icon to open the editor.
- Click Add.
- Choose the MARC tag you wish to add.
Enter MARC information in the corresponding fields.
Click OK.
Close the Author Editor window.
Click Save.
Remove an Author Tag
- Click the pencil icon in the Author field.
- Select the tag you wish to remove.
- Click Remove.
- Close the Author Editor window.
- Click Save.
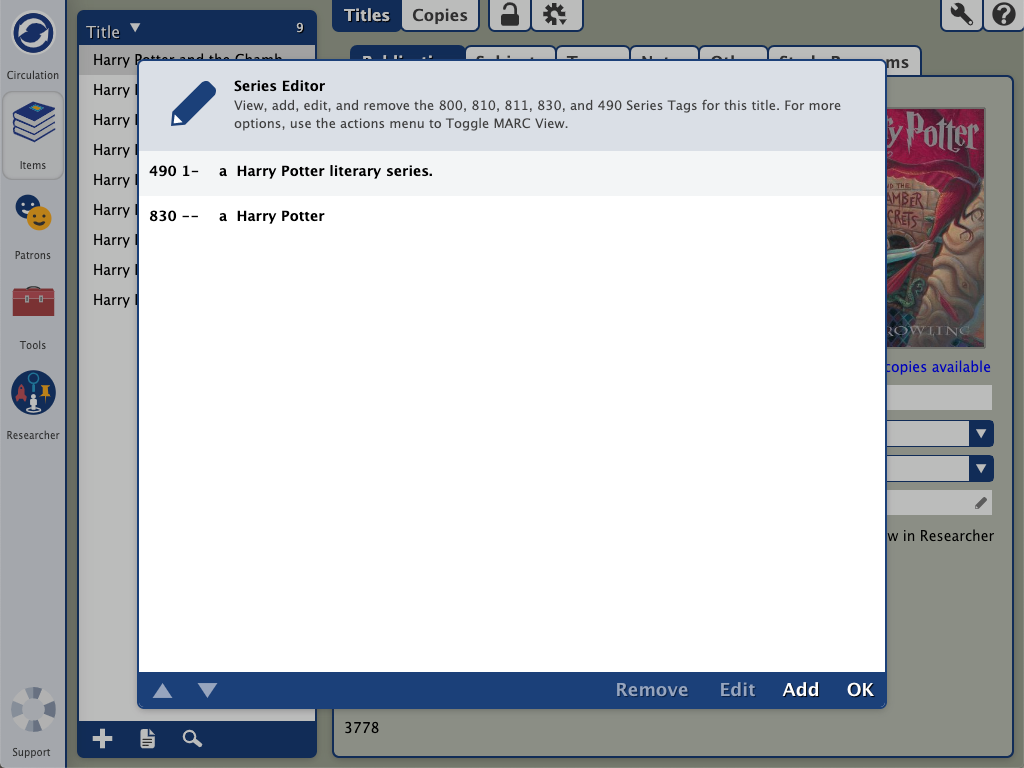
Series Editor
The Series editor view, add, or edit the following MARC tags and subfields:
- 800_a _d _t - Series Added Entry - Personal Name
- 810 _a _b _t - Series Added Entry - Corporate Name
- 811_a _n _t - Series Added Entry - Meeting Name
- 830_a _v _h - Series Added Entry - Uniform Title
- 490_a _v - Series Statement

Before you can make any changes, click the![]() padlock icon
padlock icon![]() to unlock the record. Then when you're done, click the icon again to lock the record.
to unlock the record. Then when you're done, click the icon again to lock the record.
Edit a Series Tag
- In the Series Volume field, click the pencil icon to open the editor.
- Select a tag.
Click Edit.
Make any necessary changes to the tag, then click OK.
Close the Series Editor window.
Click Save.
Add a Series Tag
- In the Series Volume field, click the pencil icon to open the editor.
- Click Add.
- Choose the MARC tag you wish to add.
Enter MARC information in the corresponding fields.
Click OK.
Close the Series Editor window.
Click Save.
Remove a Series Tag
- In the Series Volume field, click the pencil icon to open the editor.
- Select the tag you wish to remove.
- Click Remove.
- Close the Series Editor window.
- Click Save.
Series Editor
The Series editor view, add, or edit the following MARC tags and subfields:
- 800_a _d _t - Series Added Entry - Personal Name
- 810 _a _b _t - Series Added Entry - Corporate Name
- 811_a _n _t - Series Added Entry - Meeting Name
- 830_a _v _h - Series Added Entry - Uniform Title
- 490_a _v - Series Statement


Before you can make any changes, click thepadlock icon
to unlock the record. Then when you're done, click the icon again to lock the record.
Edit a Series Tag
- In the Series Volume field, click the
- Select a tag.
Click Edit.
Make any necessary changes to the tag, then click OK.
Close the Series Editor window.
Click Save.
Add a Series Tag
- In the Series Volume field, click the
- Click Add.
- Choose the MARC tag you wish to add.
Enter MARC information in the corresponding fields.
Click OK.
Close the Series Editor window.
Click Save.
Remove a Series Tag
- In the Series Volume field, click the
- Select the tag you wish to remove.
- Click Remove.
- Close the Series Editor window.
- Click Save.
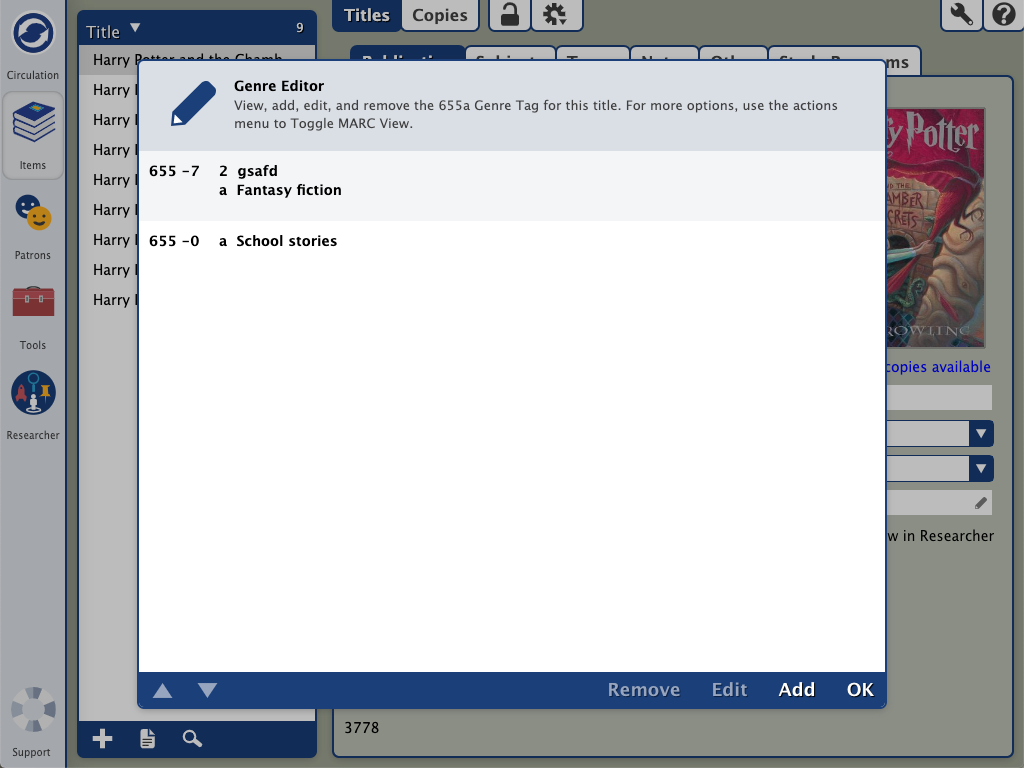
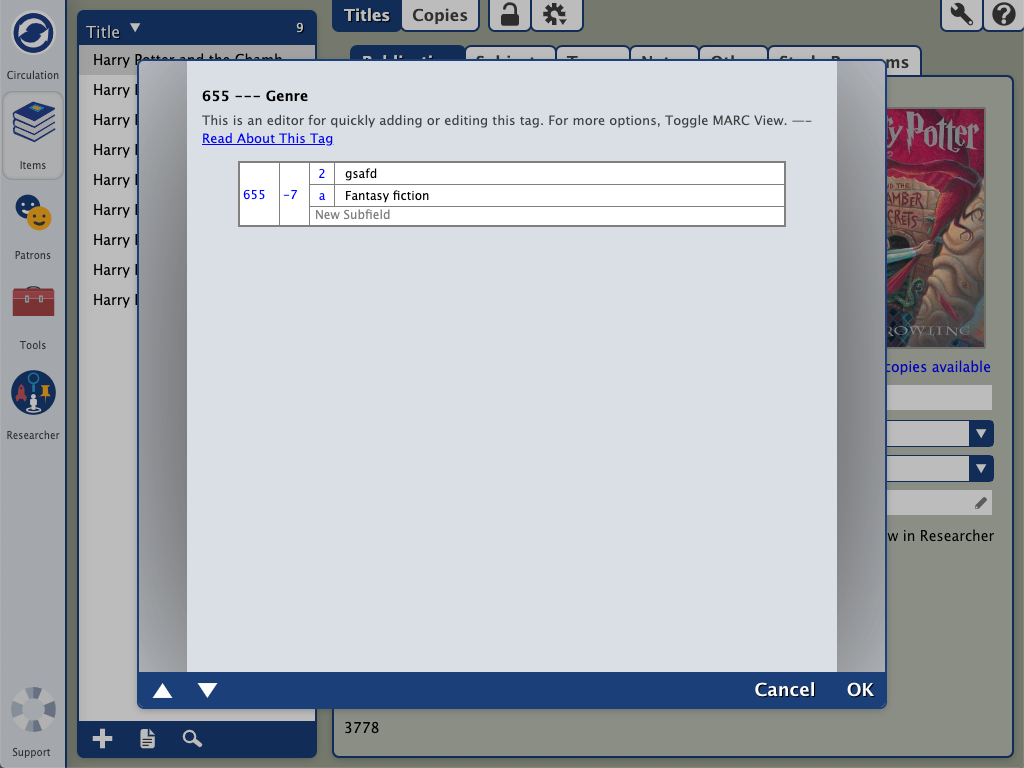
Genre Editor
The Genre editor allows you to view, add, edit or remove the 655_a tag.


Before you can make any changes, click the![]() padlock icon
padlock icon ![]() to unlock the record. Then when you're done, click the icon again to lock the record.
to unlock the record. Then when you're done, click the icon again to lock the record.
Edit a Series Tag
- In the Genre field, click the pencil icon to open the editor.
- Select a tag.
Click Edit.
Make any necessary changes to the tag, then click OK.
Close the Genre Editor window.
Click Save.
Add a Series Tag
- In the Genre field, click the pencil icon to open the editor.
- Click Add.
- Enter MARC information in the corresponding fields.
Click OK.
Close the Genre Editor window.
Click Save.
Remove a Series Tag
- In the Genre field, click the pencil icon to open the editor.
- Select the tag you wish to remove.
- Click Remove.
- Close the Genre Editor window.
- Click Save.
Genre Editor
The Genre editor allows you to view, add, edit or remove the 655_a tag.
Before you can make any changes, click thepadlock icon
to unlock the record. Then when you're done, click the icon again to lock the record.
Edit a Series Tag
- In the Genre field, click the
- Select a tag.
Click Edit.
Make any necessary changes to the tag, then click OK.
Close the Genre Editor window.
Click Save.
Add a Series Tag
- In the Genre field, click the
- Click Add.
- Enter MARC information in the corresponding fields.
Click OK.
Close the Genre Editor window.
Click Save.
Remove a Series Tag
- In the Genre field, click the
- Select the tag you wish to remove.
- Click Remove.
- Close the Genre Editor window.
- Click Save.
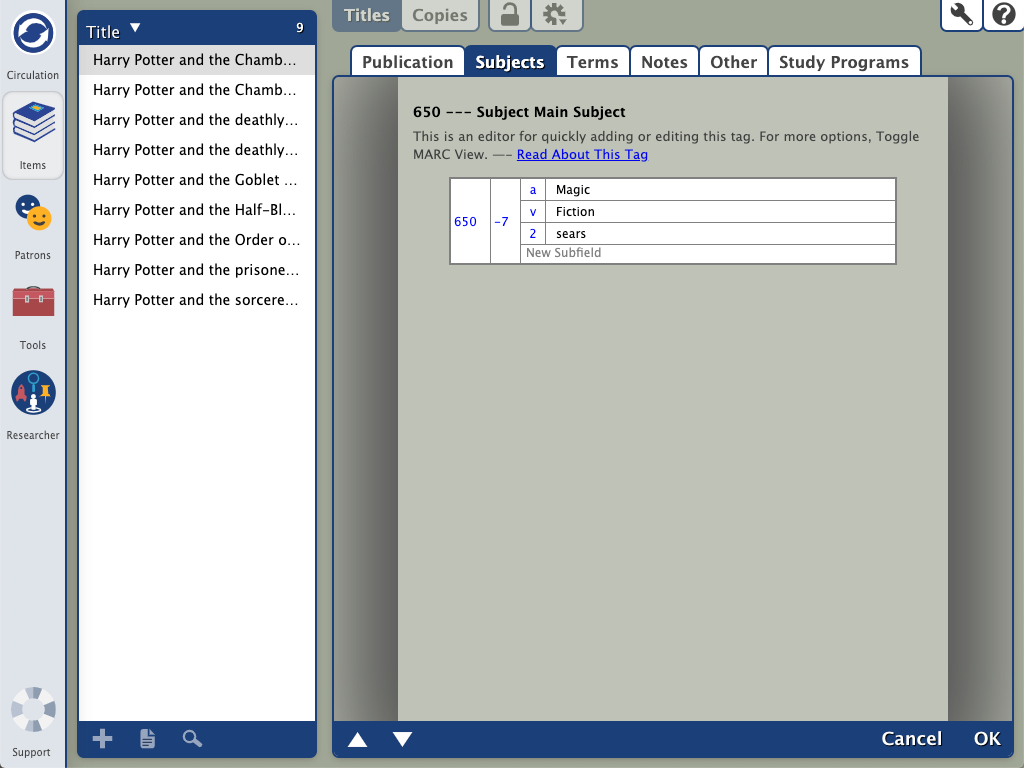
Subject Editor
The Subject Editor allows you to view, add, edit or remove subject entries for the Title. The Subject Editor is located on the Subjects tab in the Title record.

Before you can make any changes, click the![]() padlock icon to
padlock icon to![]() unlock the record. Then when you're done, click the icon again to lock the record.
unlock the record. Then when you're done, click the icon again to lock the record.
Edit an Author Tag
- In the Author field, click the
 pencil icon to open the editor.
 - Select the 100 field.
Click Edit.
Make any necessary changes to the tag, then click OK.
Close the Author Editor window.
Click Save.
Add an Author Tag
- In the Author field, click the pencil icon to open the editor.
- Click Add.
- Choose the MARC field you wish to add (110, 111, 700, 710 or 711).
Enter MARC information in the corresponding fields.
Click OK.
Close the Author Editor window.
Click Save.
Remove an Author Tag
- Click the pencil icon in the Author field.
- Select the tag you wish to remove.
- Click Remove.
- Close the Author Editor window.
- Click Save.