The Support Center has moved!! See the new website https://support.goalexandria.com/ ![]()

How helpful was this page?
Related Blog Posts
Blog Posts
-
Say cheese! All about patron pictures
created by
Aug 10, 2022
-
Assigning policies–the complete guide
created by
Mar 23, 2022
-
Update title records with exports & imports? Yes, you can!
created by
Jan 19, 2022
-
Getting equipped: Cataloging items for your library
created by
Jan 13, 2022
-
Saved field mapping—Easy peasy imports
created by
Feb 10, 2021
-
As you like it—Import Headings
created by
Nov 30, 2018
-
Importing MARC Records from a Vendor
created by
Oct 19, 2018
-
New Copies? In Processing
created by
Oct 06, 2014
Import Patron Pictures
Last Updated: $action.dateFormatter.formatDateTime($content.getLastModificationDate())

Import Patron Pictures
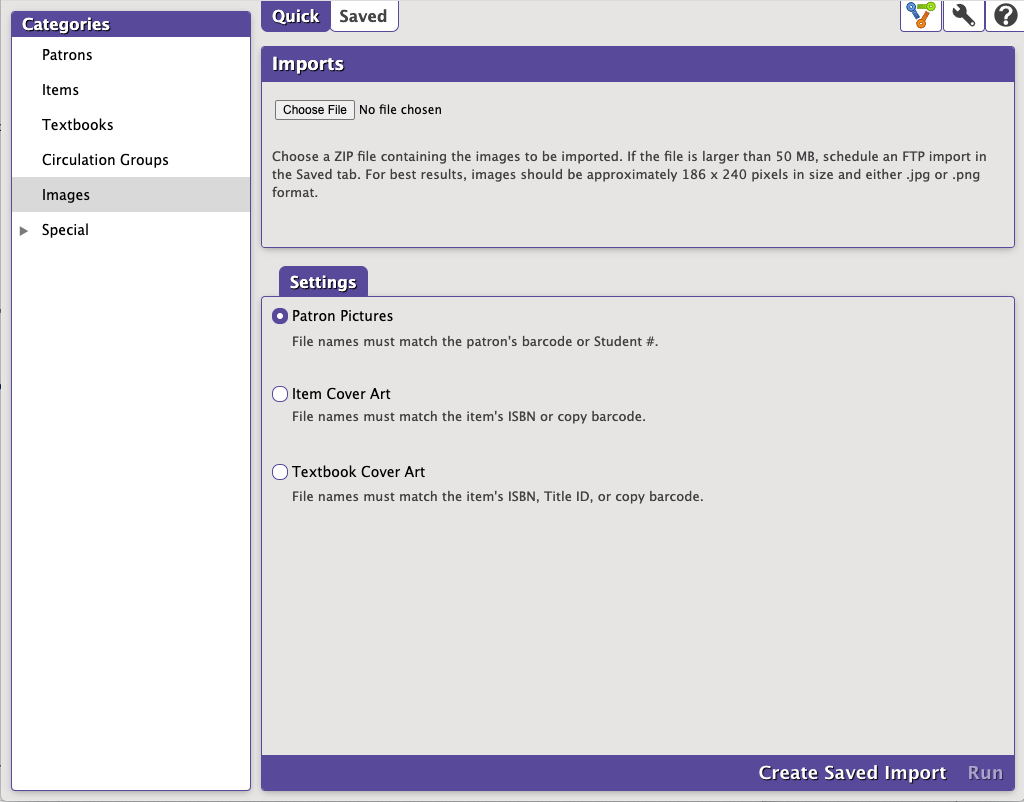
![]() Tools > Import > Images > Patron Pictures
Tools > Import > Images > Patron Pictures
During the import process, Alexandria will attempt to match pictures with patrons using the image filenames. For example, let's say you have a student named John Doe whose Alexandria barcode number is 1080 and you would like to import an image of him in “.JPG” format. His picture file must be named “1080.jpg” so that Alexandria can match it to his barcode. If all your patron image filenames have been given valid patron barcode numbers (e.g. “1080.jpg”), Alexandria can successfully import individual pictures into each patron record, accessible afterward through the Personal Info tab of the Patrons management window.
The Patron Pictures import will match the filename by patron barcode.
Existing patron pictures will be replaced with newer ones if found during import. If Alexandria is unable to match a filename with a patron during import, the picture will be ignored and noted as an exception in the Operation Information report.
You can import most standard image files (.png and .jpg) into Alexandria. Although they can be larger (or smaller), the default, optimal size for patron pictures is 240 pixels by 186 pixels at 72 ppi (pixels per inch) resolution. Larger images will be auto-sized and shrunk to fit within those pixel specifications if they're revealed to be too large upon import.
Since image filenames essentially specify who gets new pictures, there are no additional import options.
Step-by-Step: Import Patron Pictures
- Go to Tools > Import.
- Select Images from the categories pane.
- On the Imports pane, click Choose File.
- Locate the patron image file on your computer, then click Open to select it for import.
- Select Patron Pictures in the Settings tab. In order to work properly, the names of the image contained in the .ZIP file must match the patron's barcode number and be in .png or .jpg format.
- Since image filenames essentially specify who gets new pictures, there are no additional options required to import patron pictures.
- Click Run to send the patron image import to the Operations Management queue. During import, in the Operations Management interface, a progress bar is shown; click Cancel to stop the import.