The Support Center has moved!! See the new website https://support.goalexandria.com/ ![]()

Related Blog Posts
Blog Posts
-
Winter storms–recompute due dates
created by
Jan 23, 2024
-
How to add reports in the new beta–you beta be trying it!
created by
Jan 16, 2024
-
Remind me with reports... for notes!
created by
Oct 04, 2023
-
Loaned Items Notice for teachers
created by
Sep 21, 2023
-
Cleaning up homerooms: Authority Control
created by
Aug 30, 2023
-
Summer tip: how to print library cards
created by
Jul 12, 2023
-
Tip compilation: end-of-year edition
created by
May 17, 2023
-
End-of-year reports
created by
May 10, 2023
-
Cleaning up the grade table–Authority Control
created by
Apr 26, 2023
-
Curate your collection–Stats with Super Summary
created by
Feb 01, 2023
Labels
Last Updated: $action.dateFormatter.formatDateTime($content.getLastModificationDate())

Complete Labels List
| Label Name | Label Description |
|---|---|
| List of scannable Circulation command barcodes that are commonly used | |
| Labels for item barcodes or envelope labels | |
| Labels for study program identification or envelope labels | |
| Spine labels | |
| Spine labels (change the number of rows and font size) | |
| Labels for study program identification or spine labels | |
| Labels for study program identification or spine labels (change the number of rows and font size) | |
| Wide and short spine labels | |
| Wide and short spine labels (change the number of rows and font size) | |
| List of scannable damage code barcodes | |
| Customizable library cards | |
| Labels containing patron barcodes and other customizable patron information | |
| Labels with customizable patron information | |
| Patron Mailing Labels (3x10) | Labels with patron addresses |
| Reservation Labels | Labels for items and equipment with reservations |
| Unused Barcodes | List of unused barcode ranges or barcode labels |
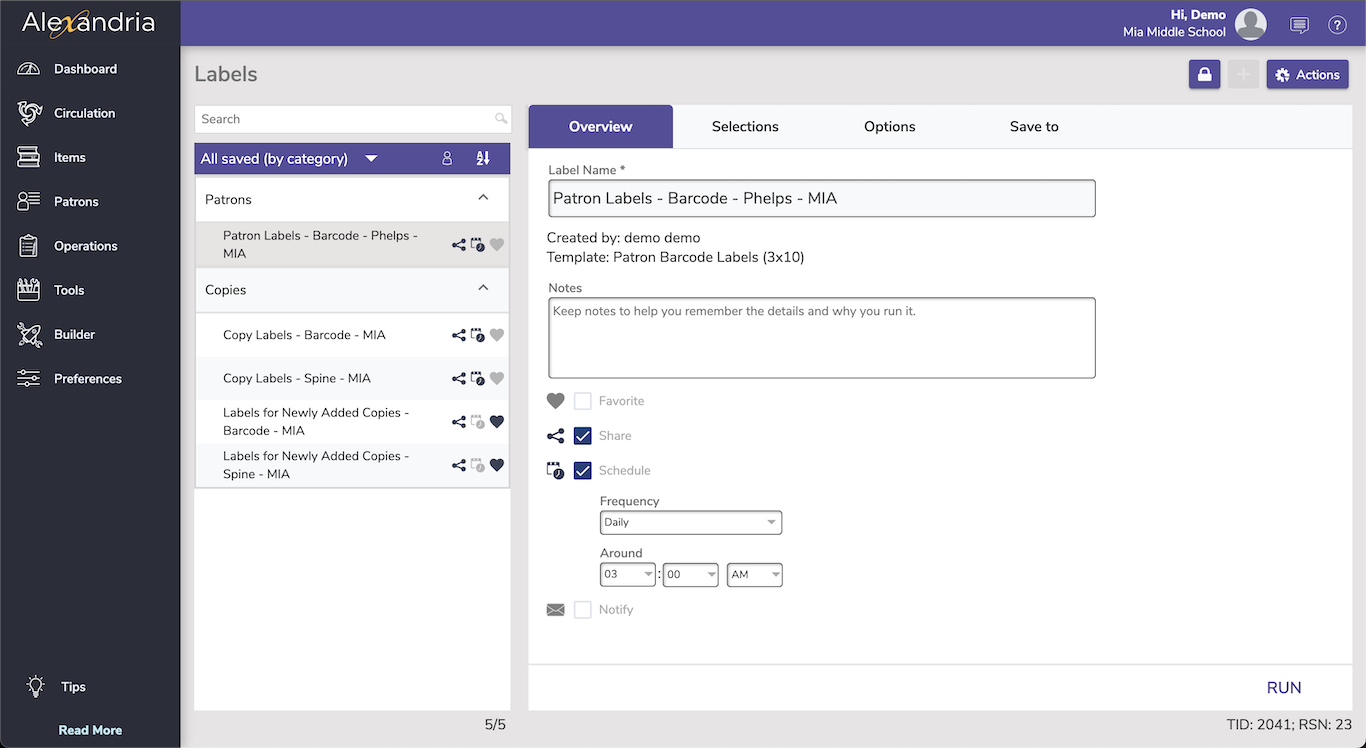
Labels allows you customize and save barcode and spine labels for your items, as well as patron labels and library cards.
Navigation
Labels contains a few different areas, including:
- The top menu, which includes the Lock Icon, the
 to add a label, and the Actions menu.
 - The records list on the left side, where you can sort/ filter labels.
- The details pane, which shows the Add label, See scheduled labels, and Learn about labels buttons, until a label is selected, when it will show the details of the selected label.
Actions Menu 
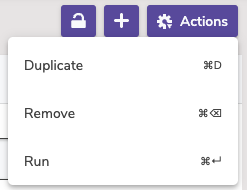
- Duplicate. Duplicate the selected notice.
- Remove. Remove the selected notice.
- Run. Run the selected notice.
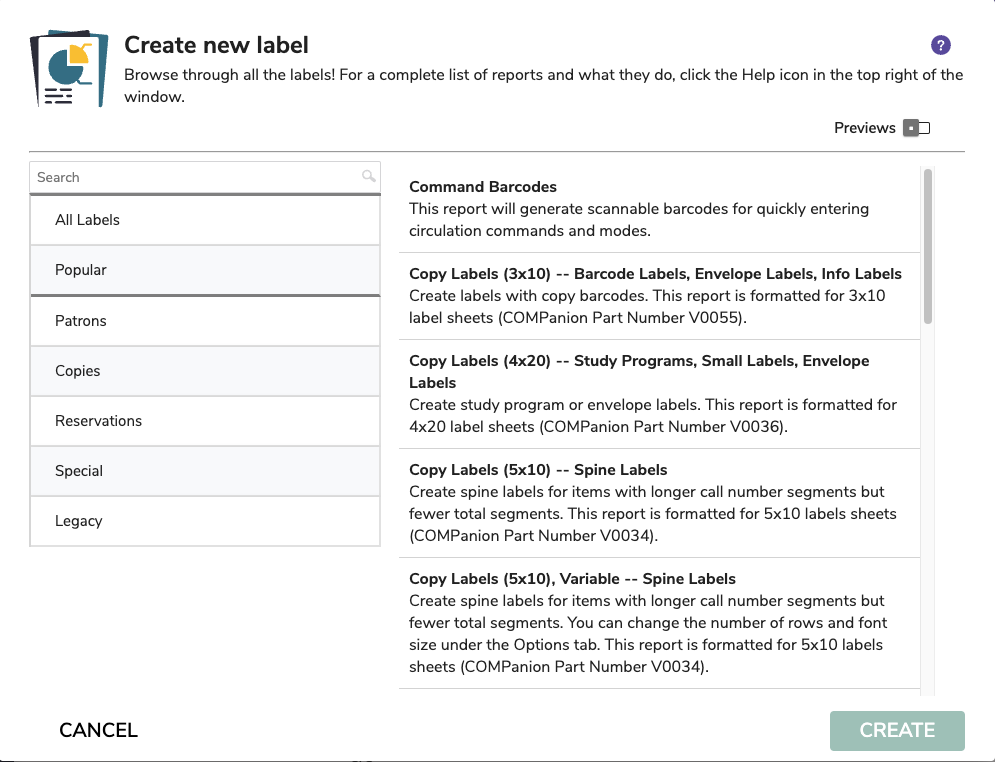
Create new label
The label templates are listed by category on the left, with more description of the label on the right, and an example PDF (if the Preview option is toggled).
Overview
The overview tab shows the Label Name, who created the report, any notes about the labels, as well as selections to Favorite, Share, Schedule, and Notify.
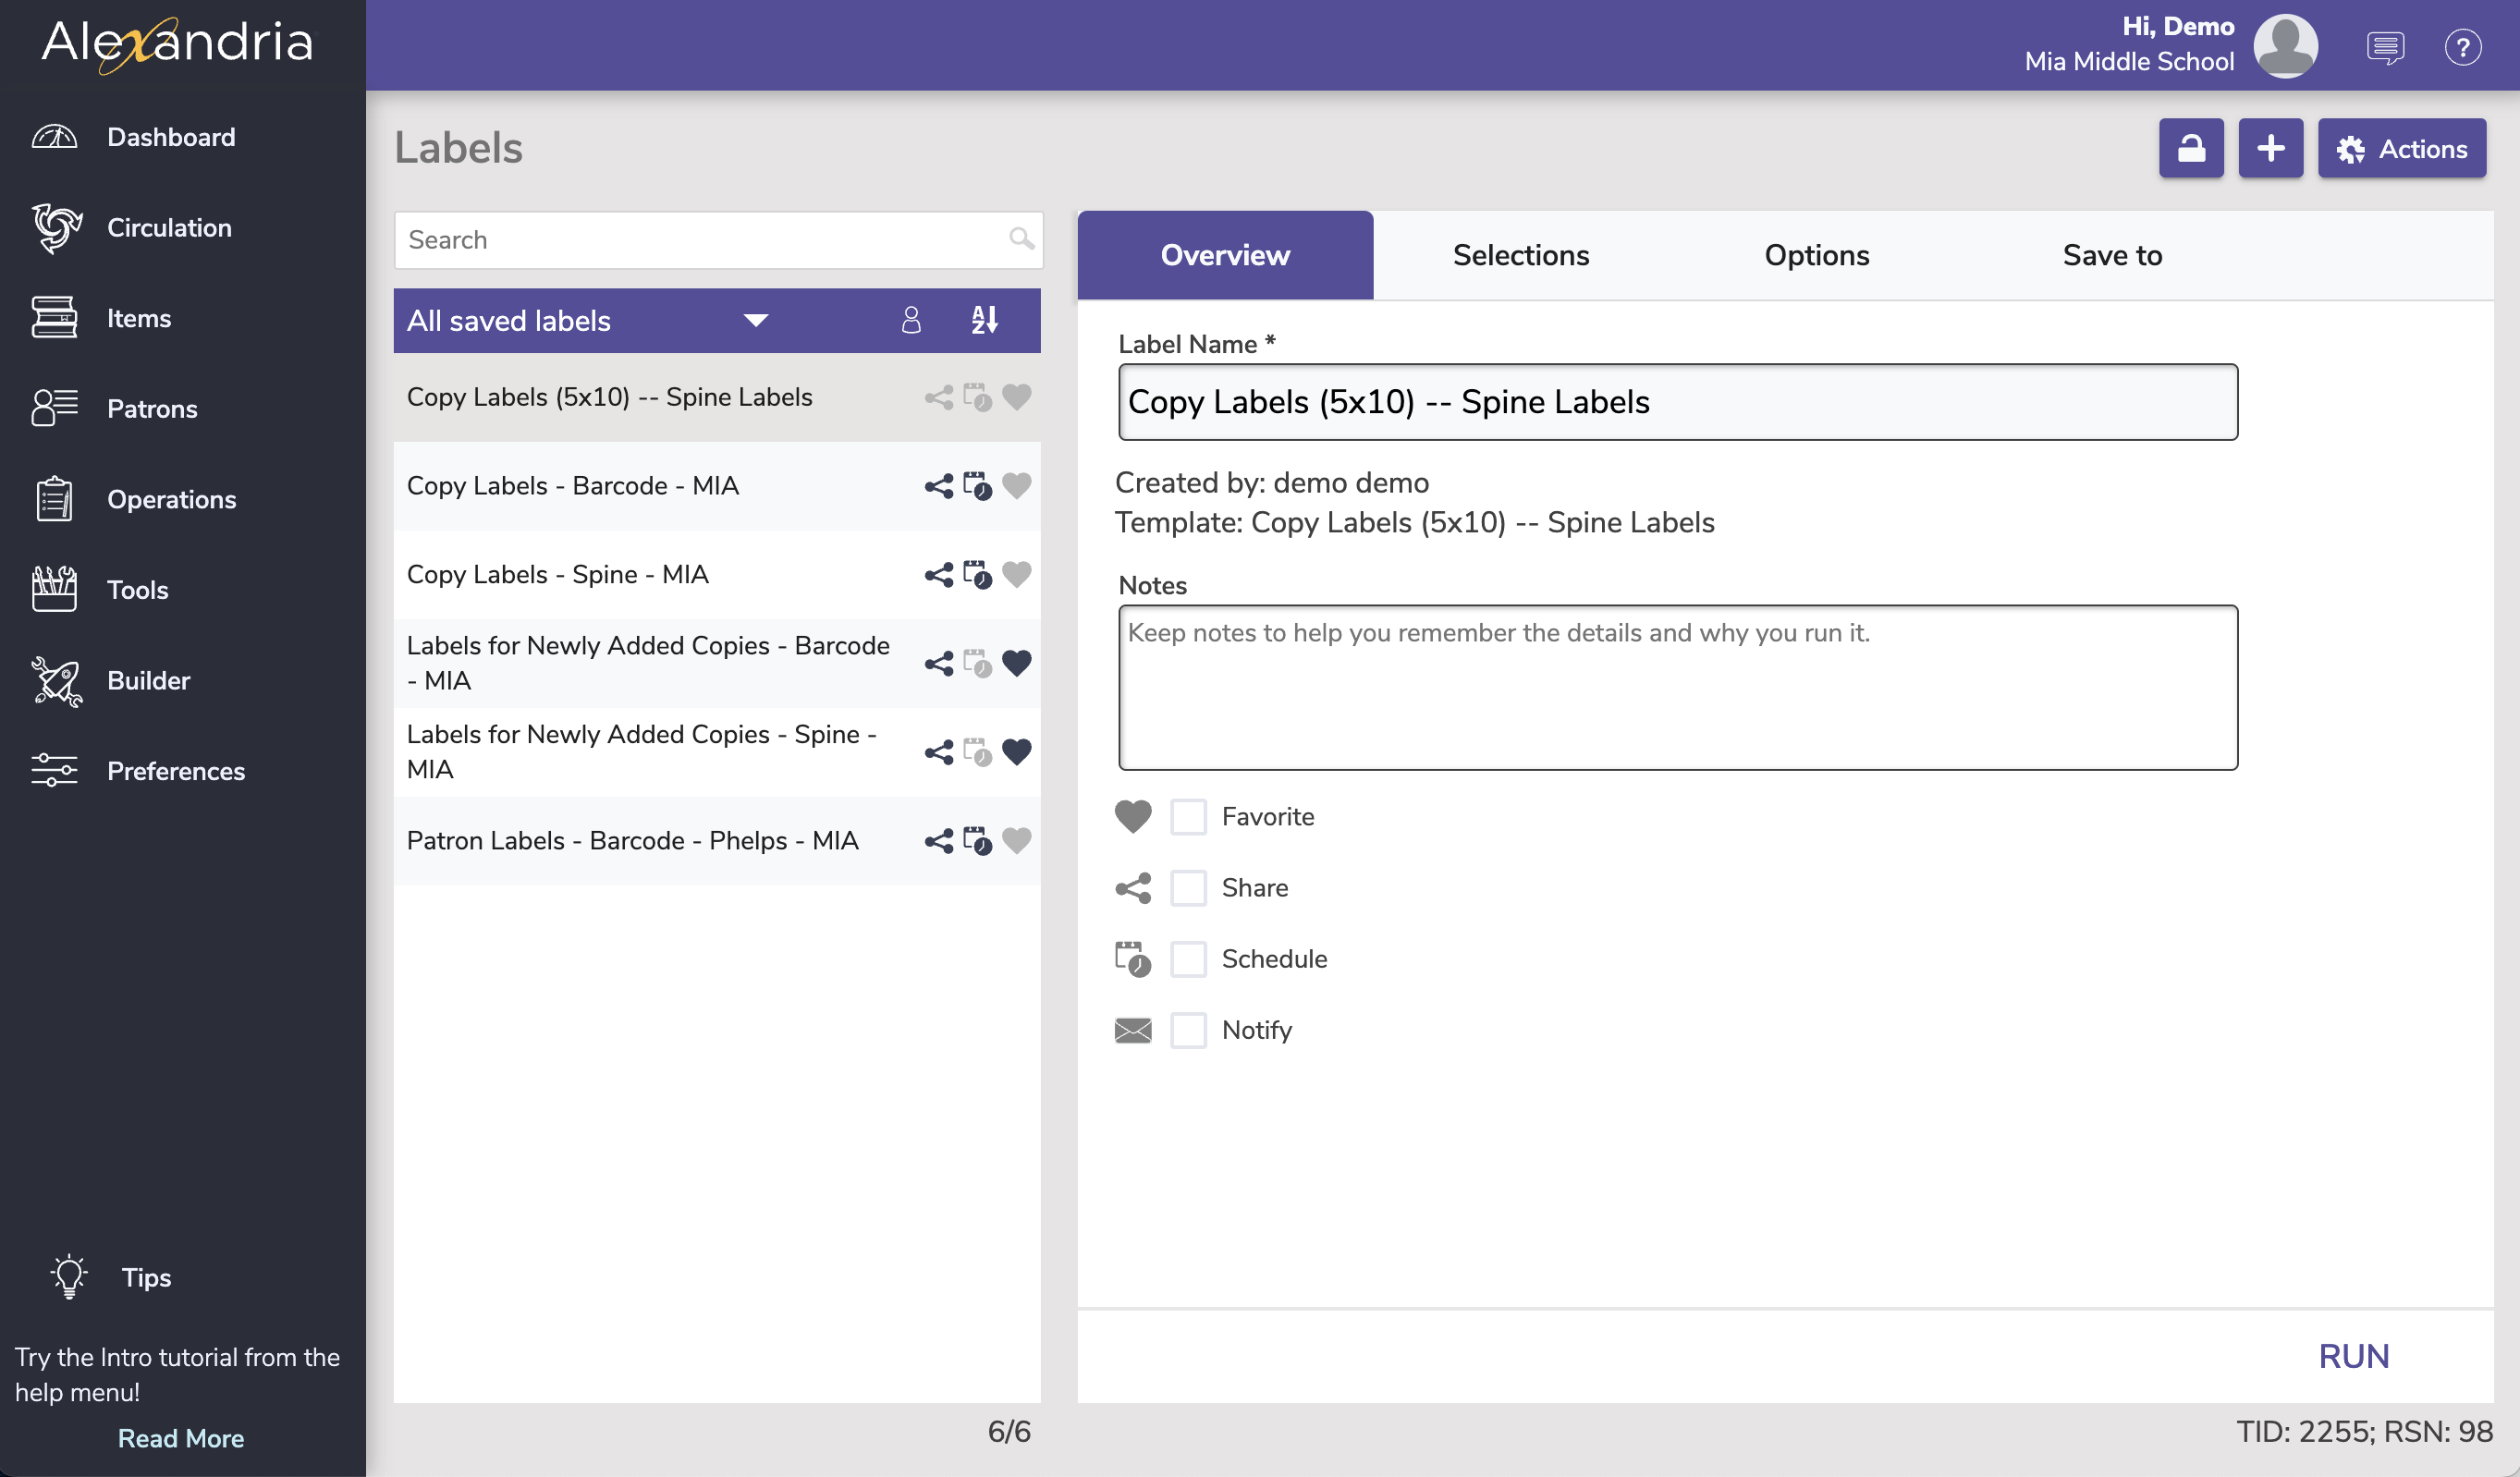
Name. Enter or edit the name of the label here.
Created By. This information is automatically populated with the label creator's name and site ID code.
Notes. You can provide general usage notes about the label here (e.g. Label created for Marjorie - Run daily!).
Favorite. When this option is checked, the label is classified as a “favorite.” This is especially helpful if you find yourself creating the same labels regularly.
Share. Shares the labels across all sites (for accounts with multiple sites).
Schedule. Check this box to unlock the label scheduling capabilities. The Frequency dropdown menu allows you to specify how often you would like to create your labels. You can select Once, Daily, Weekly, Monthly, Yearly from this drop-down menu. Use the Around dropdown to choose a general time for your labels to run.
Notify. Check this box if you want to enable email notification, sent upon label completion.
- Email Notification and Download Link To. In this field, provide the operator email addresses that Alexandria will use to send confirmation emails, a link to the Operation Summary, and a link to download the labels.
- Email Notification To. In this field, provide the email addresses that Alexandria will use to send notification emails when the labels have finished printing and a link to the Operation Summary; you can provide more than one email address separated by commas.
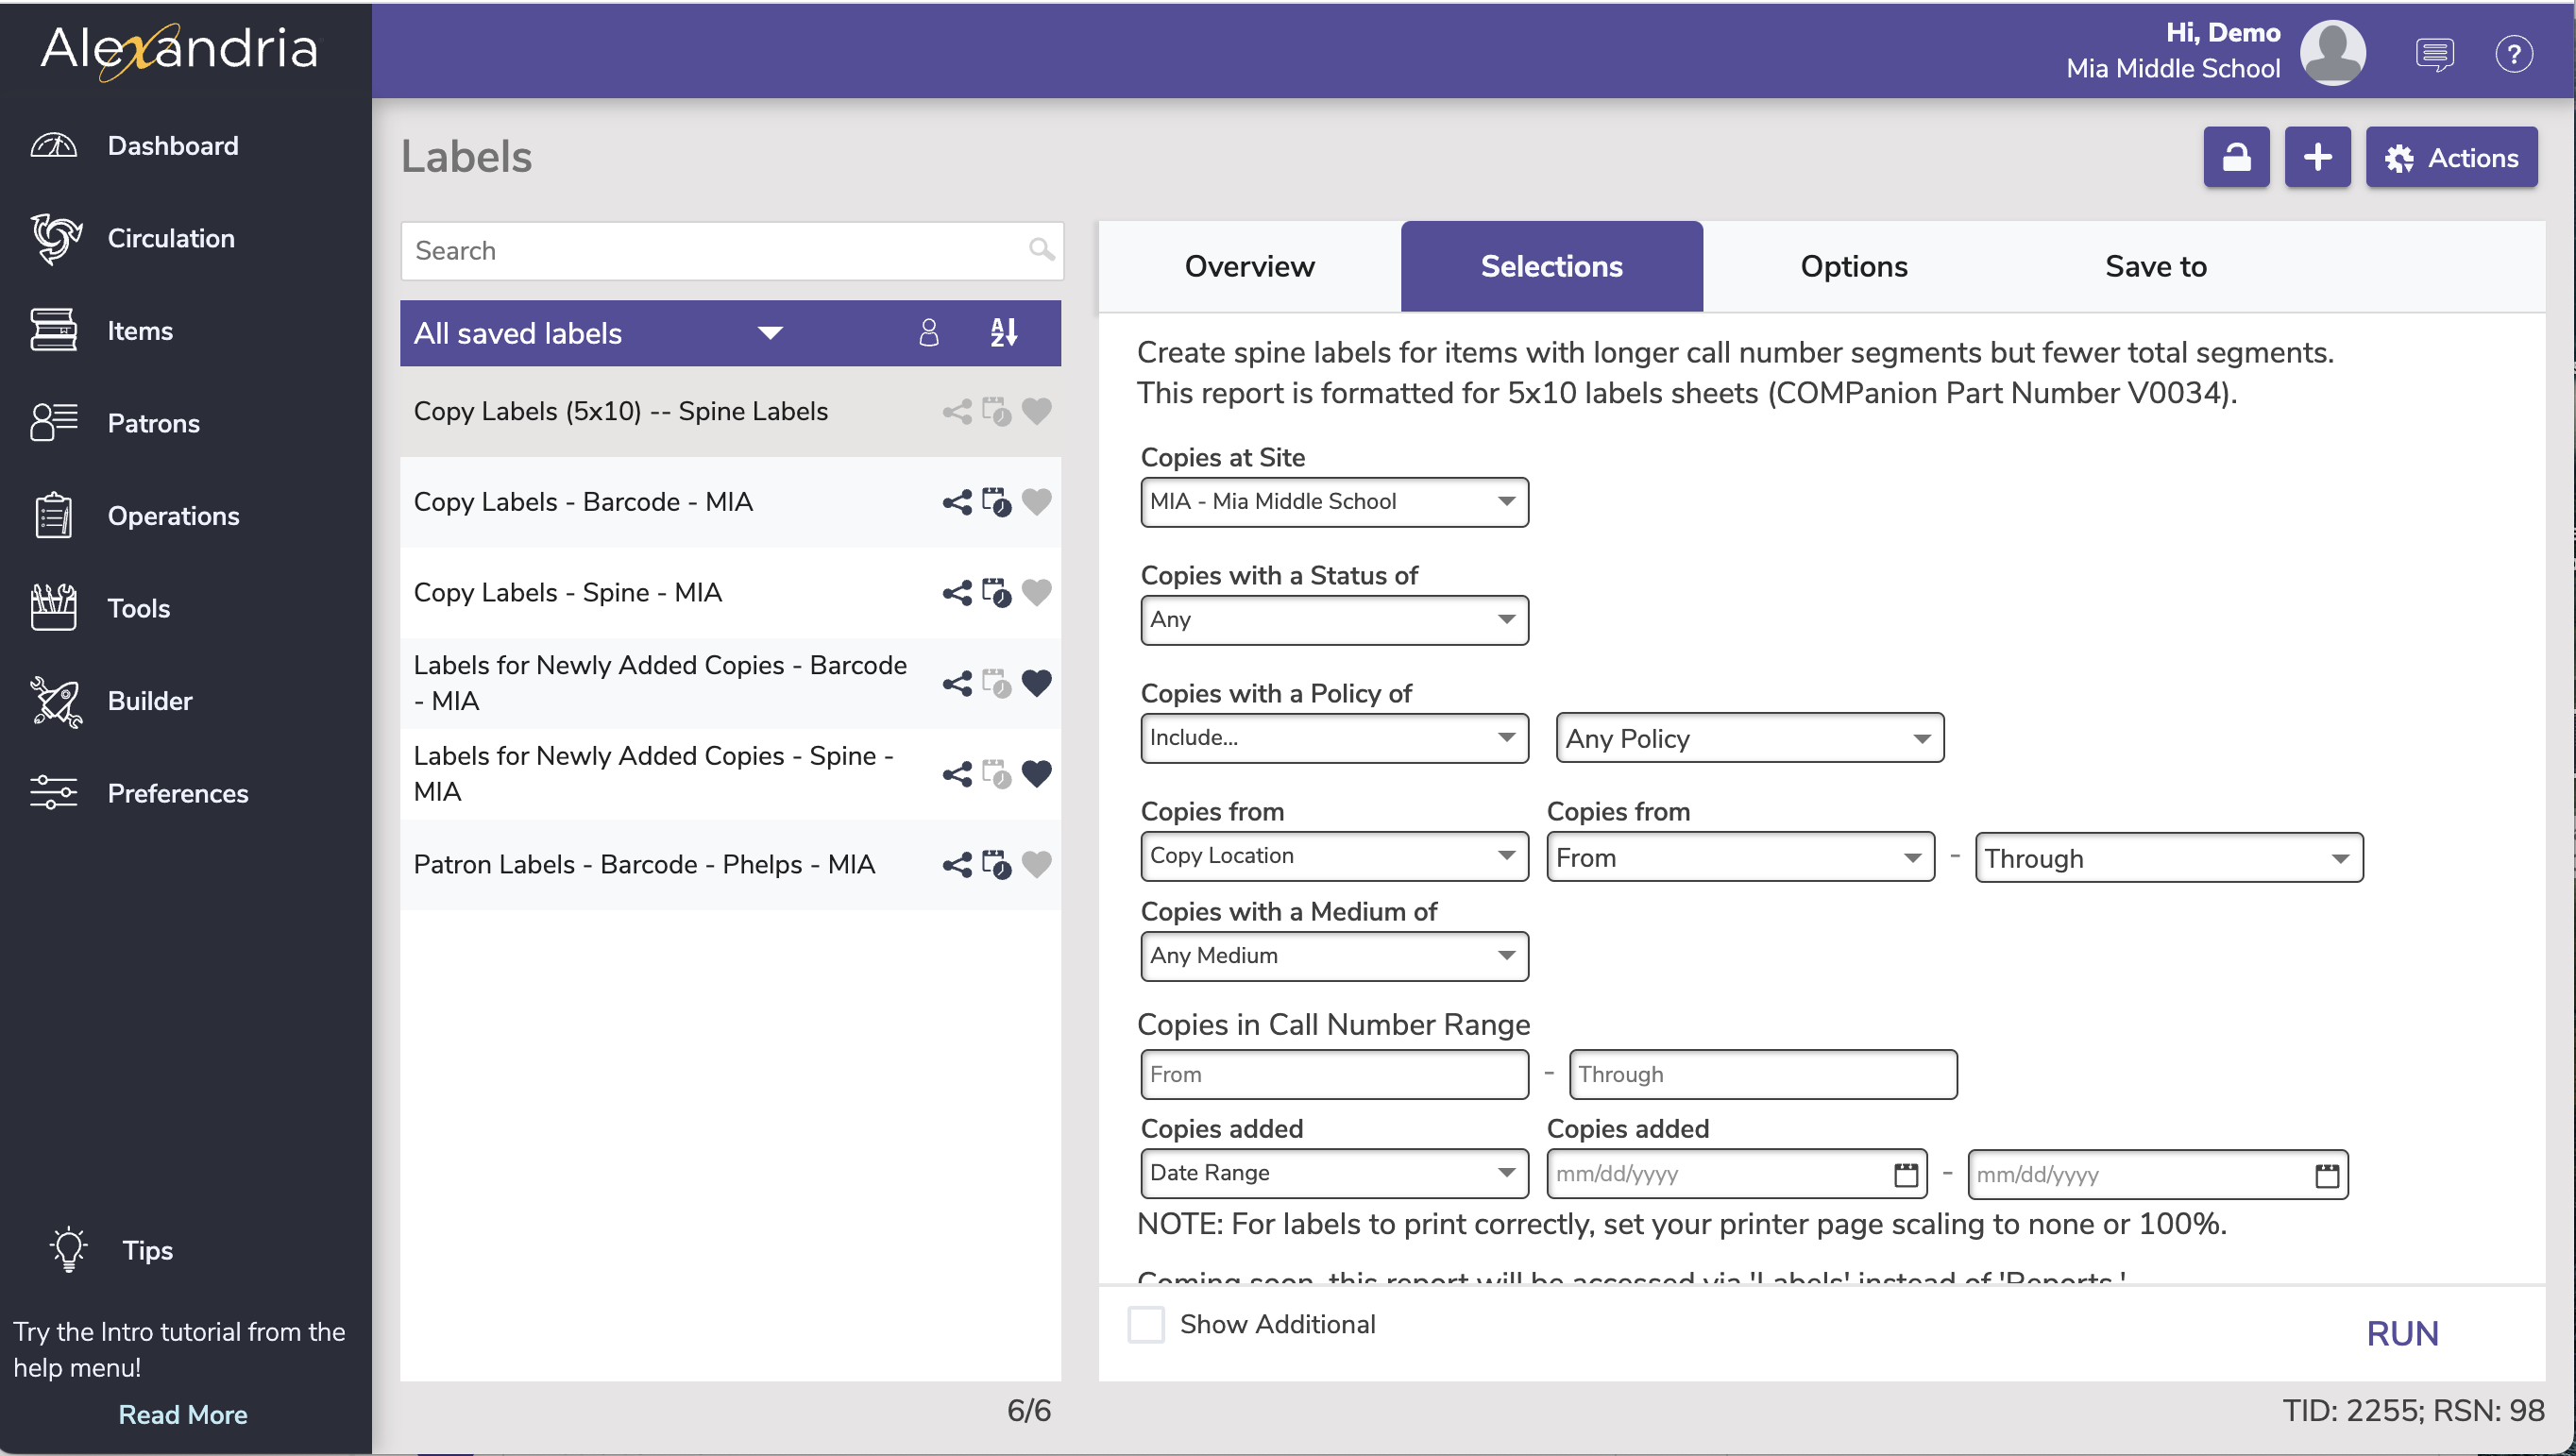
Selections
The Selections tab is where you build the labels to suit your needs. If you find some of your labels lacking the necessary selection information, try checking the Show Additional box for more options. The settings in this tab vary per label.
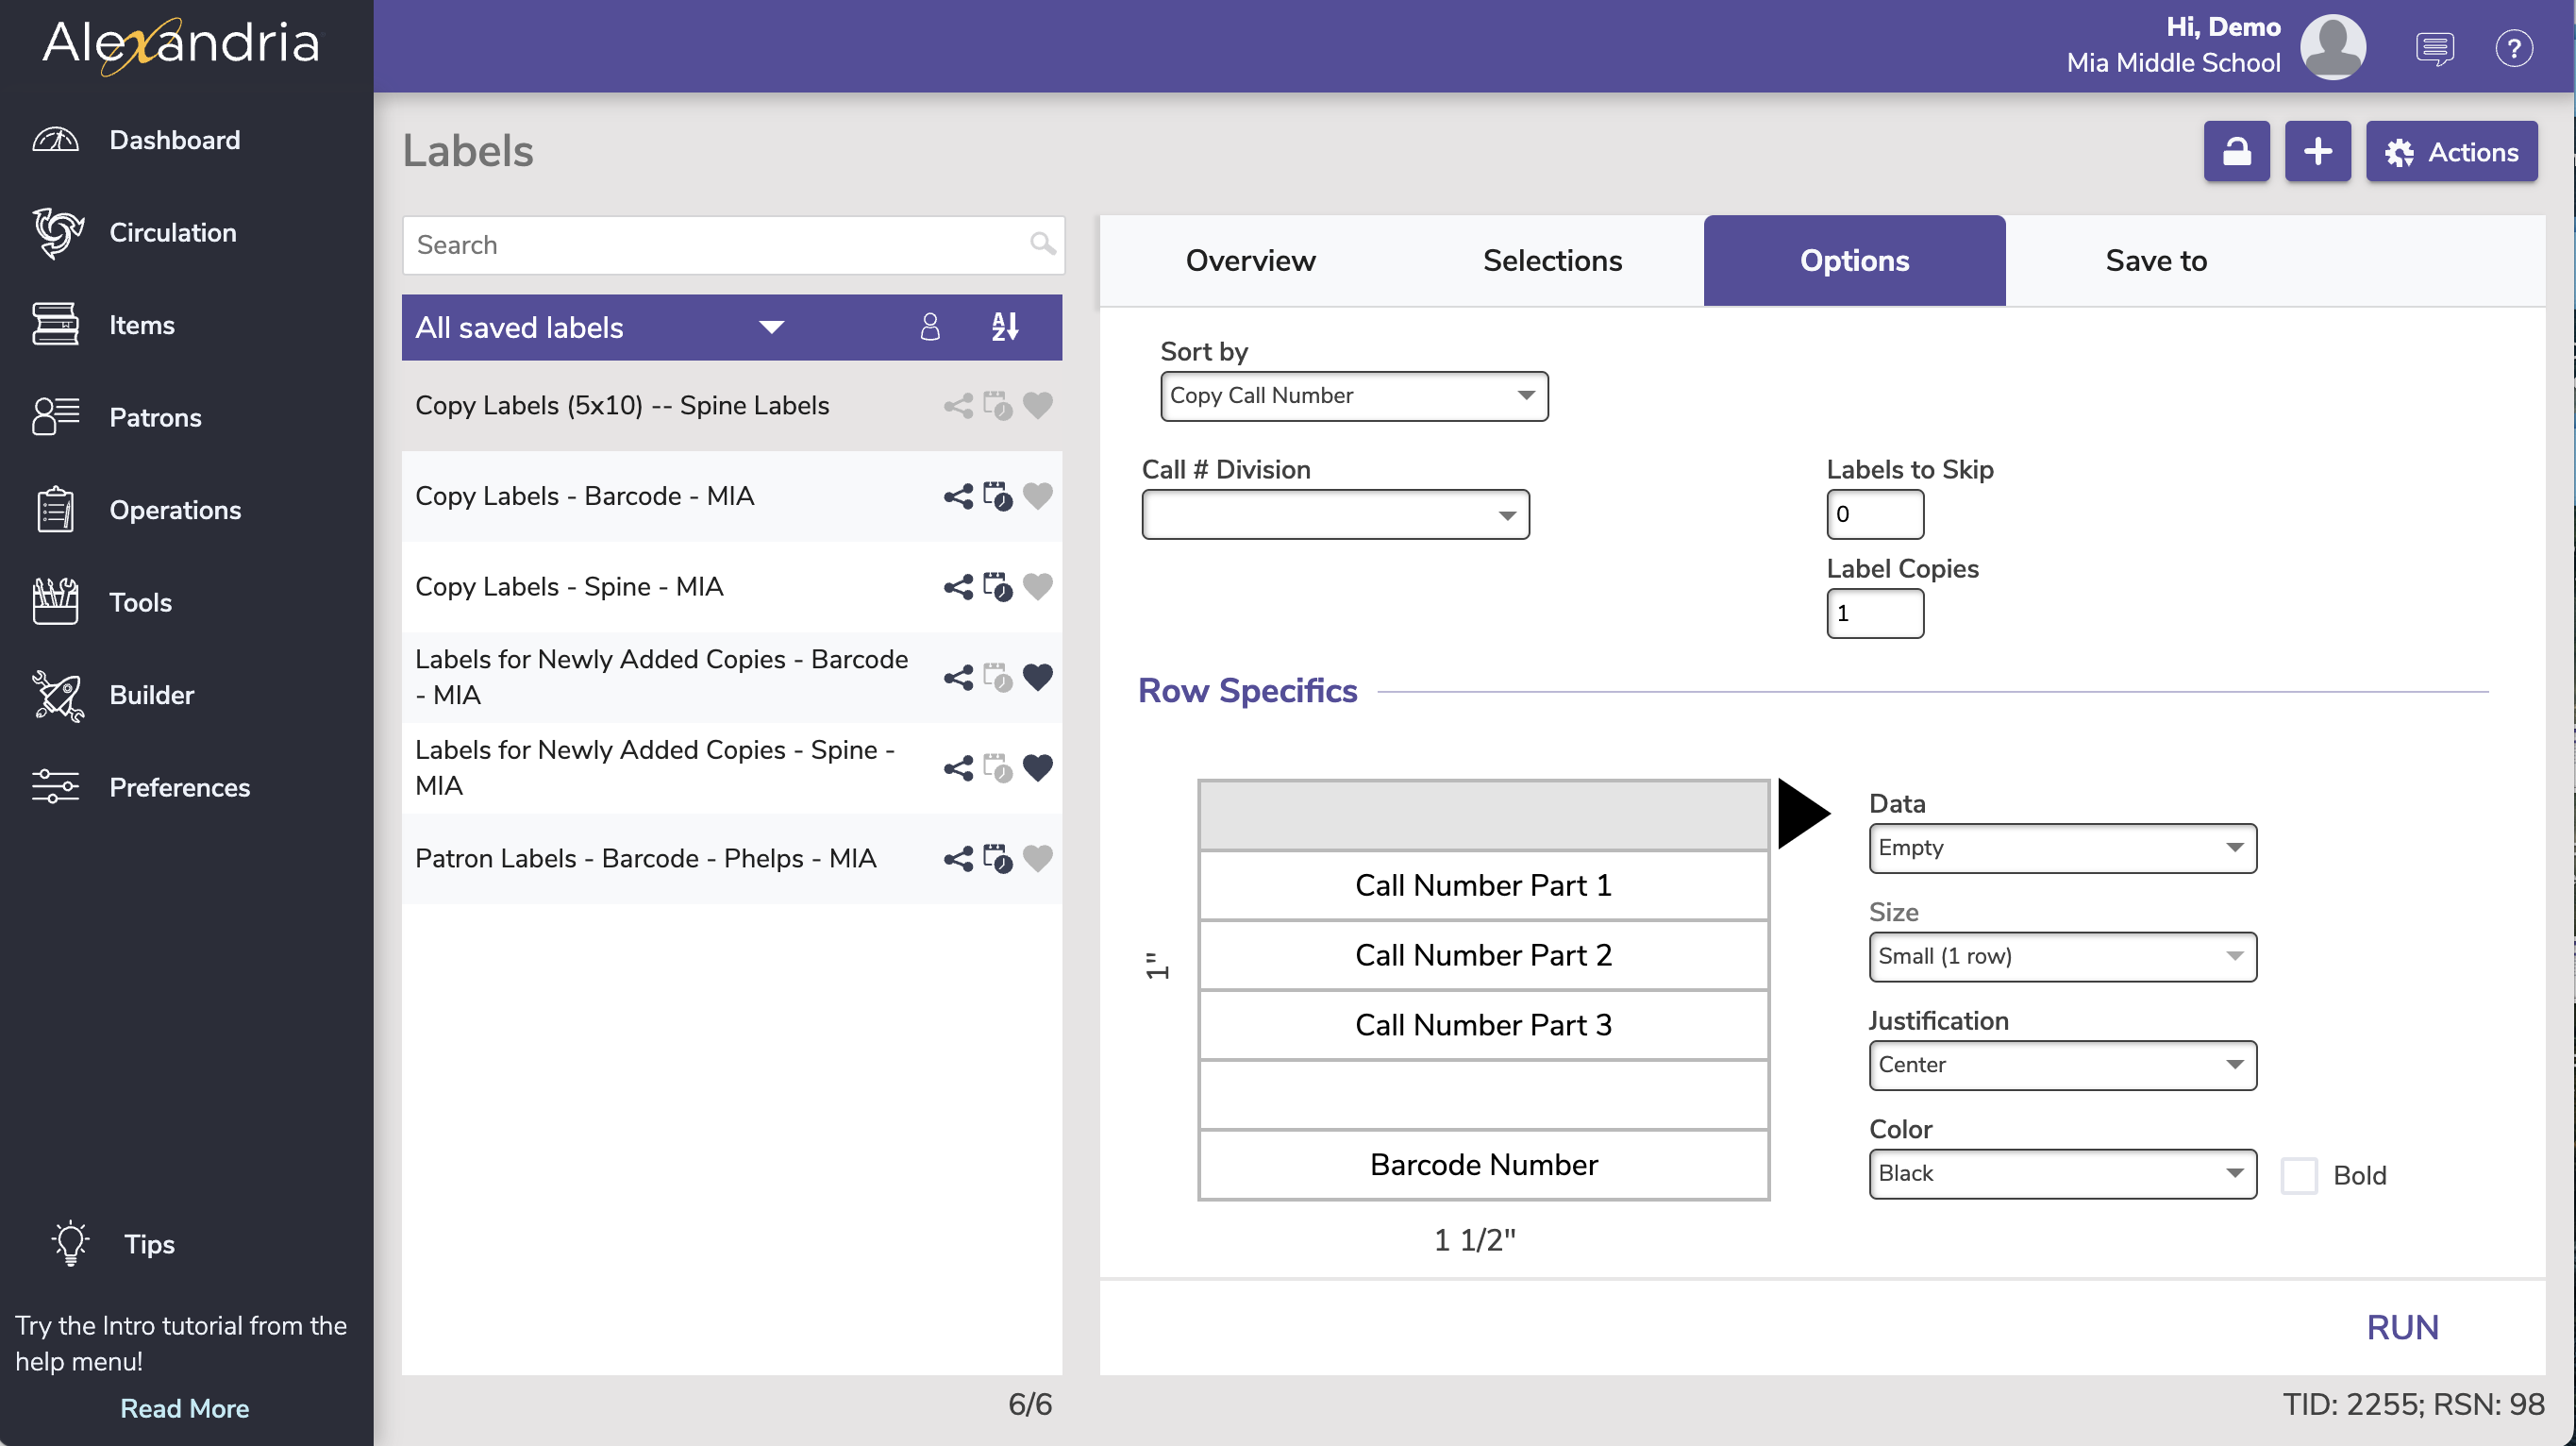
Options
Choose how to Format and Sort your labels in the Options tab.
Save to
Alexandria can save finished labels to an FTP server. These options allow you to specify the (secure) FTP server address and uername/password credentials.
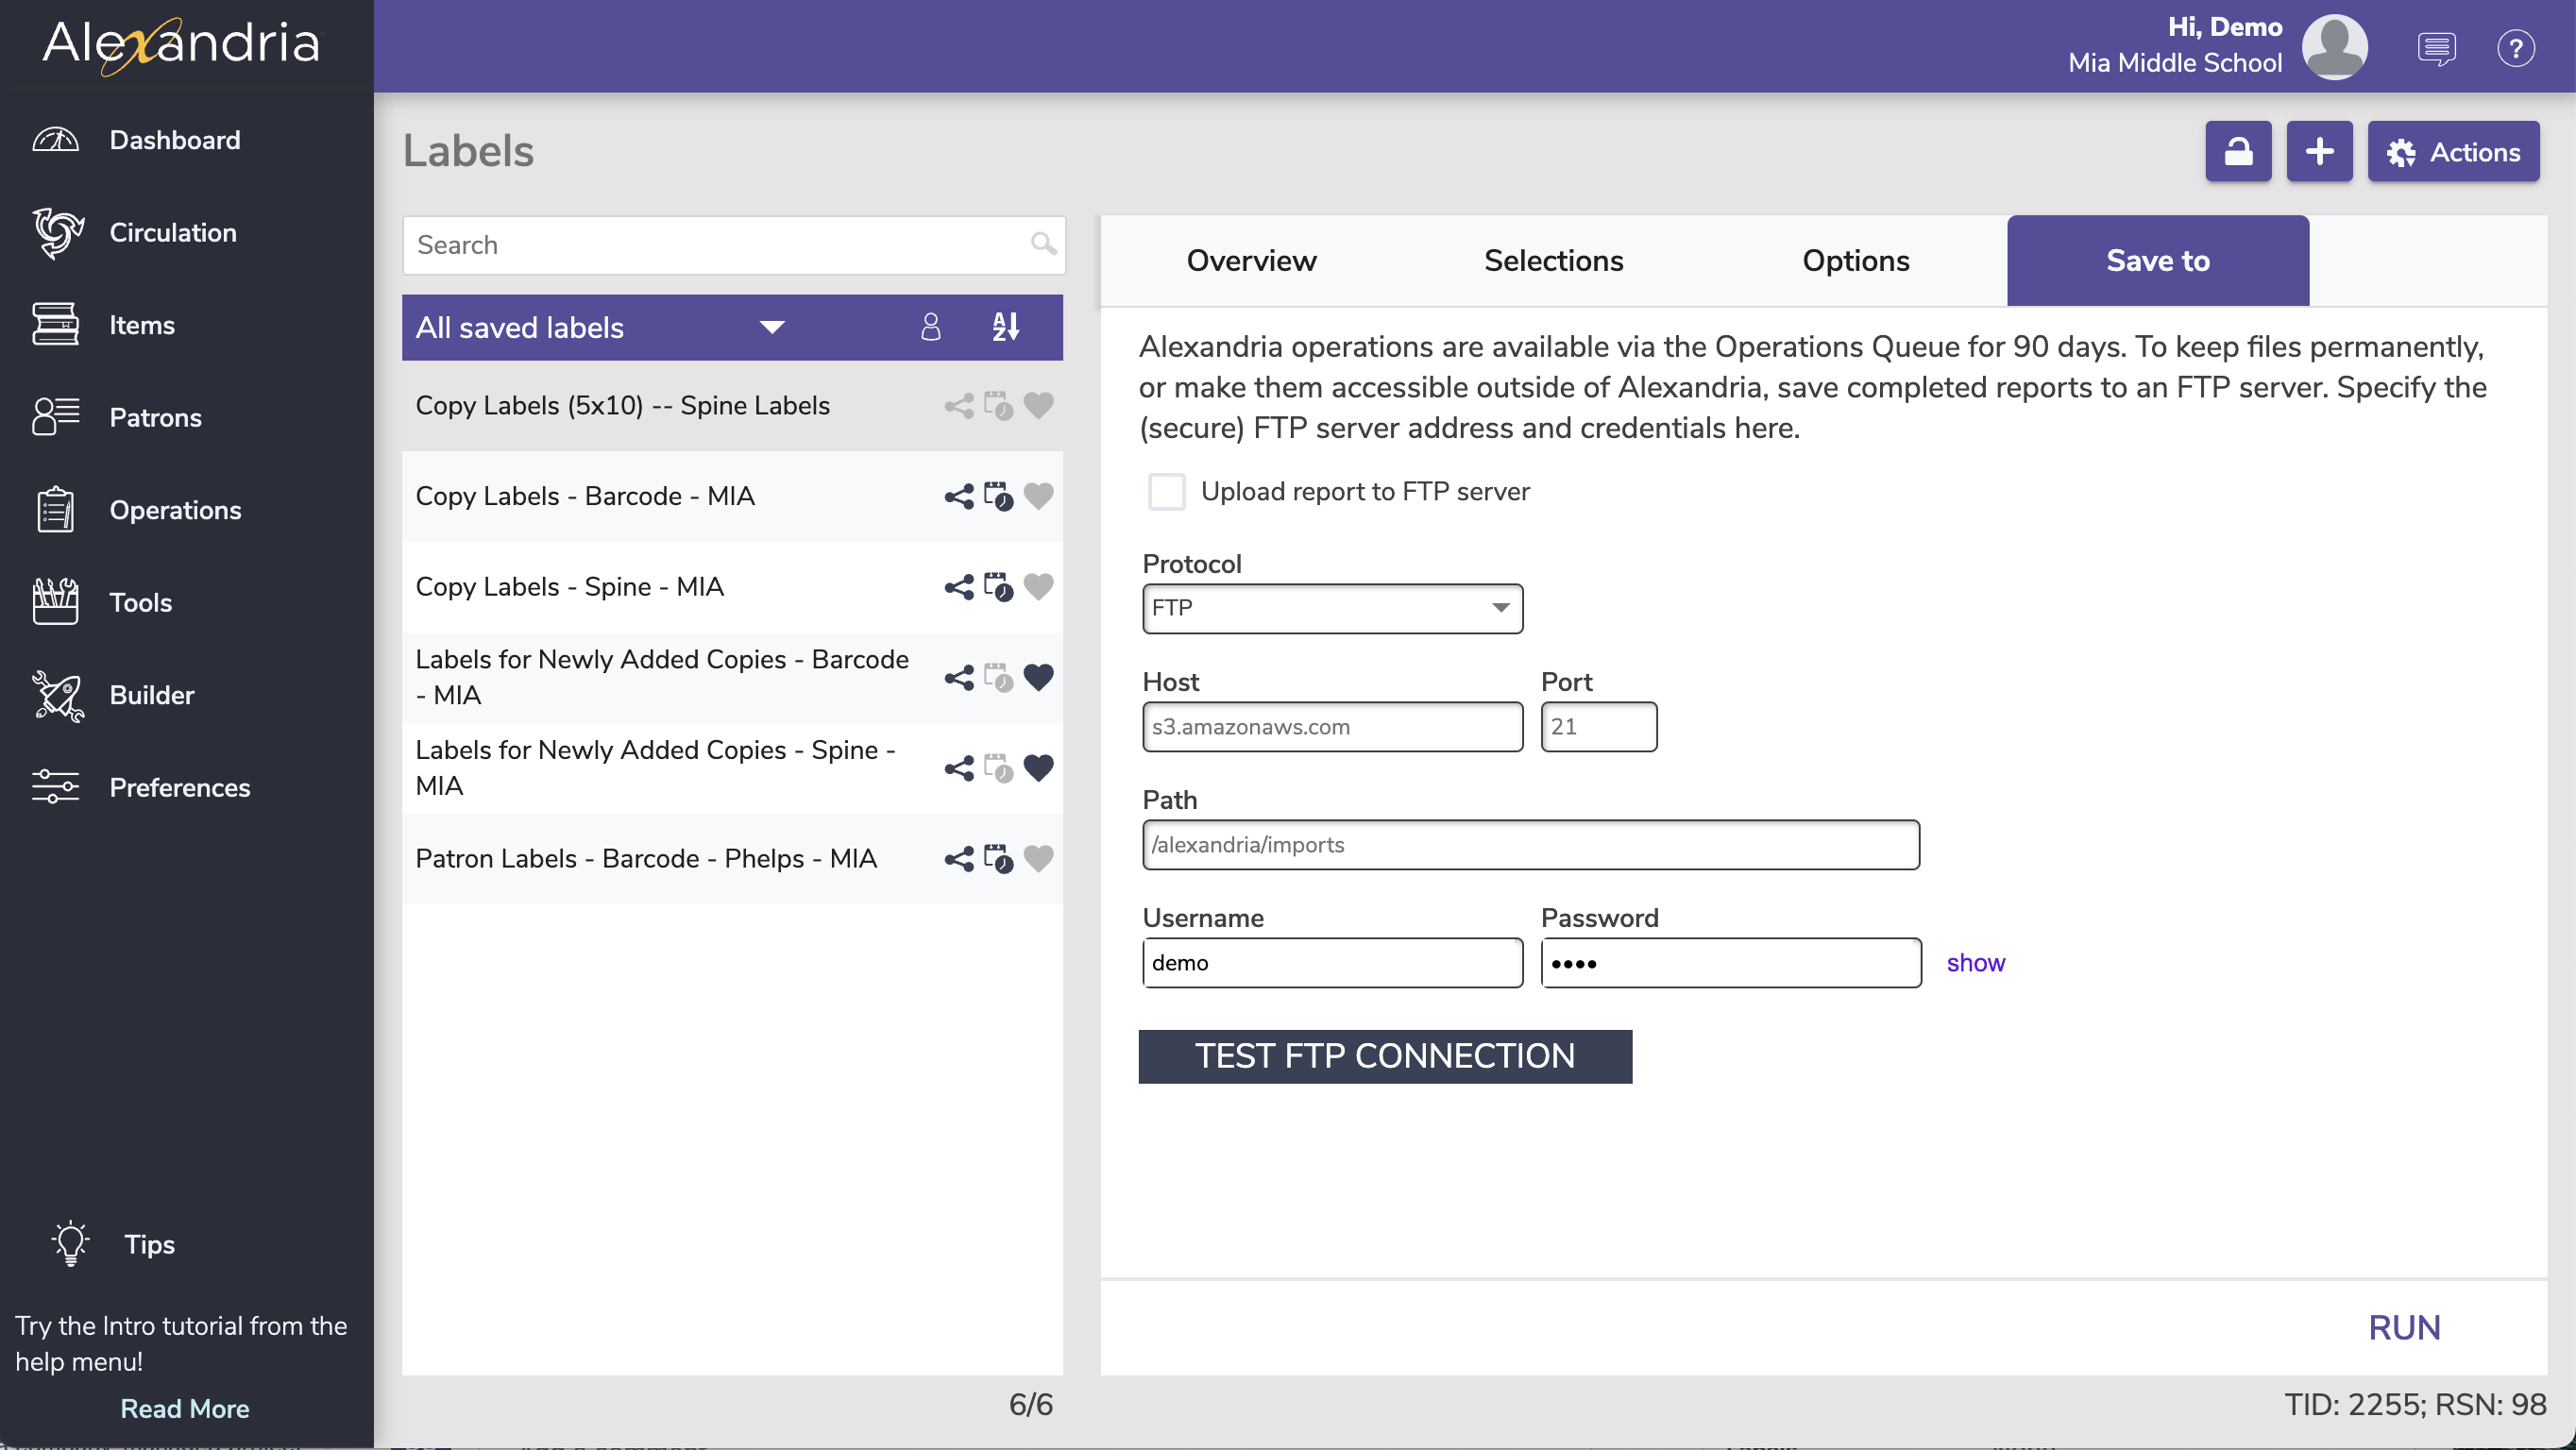
Protocol. If you'd like a more secure transmission that hides the username/password and encrypts the file content, FTP can be secured with SSL/TLS (i.e. “ftps://”). Be aware that the name “Secure FTP” can be confusing because it refers to two completely different protocols: “SFTP” and “FTPS”. Whenever the term Secure FTP is used, it is necessary to specify whether the SSH-based or SSL-based file transfer protocol is meant. Alexandria supports FTPS; the SSL-based file transfer protocol.
Host. Enter the host name or IP address of the FTP server without the URL protocol. For example, myserveraddress.com. Don't worry about including the URL protocol/scheme (e.g. “ftp://”) as this is automatically appended before the host name depending on your Protocol selection (above).
Port. While FTP typically runs over TCP port 21, FTPS (SSL/TLS) typically runs over port 21 or port 990. If you don't have permission to open multiple ports, both unencrypted FTP and encrypted FTPS will run over port 21.
Path. Enter the full path including directories and filename, such as /directory/subdirectory/filename.txt
Username and Password. Enter your FTP login credentials. If your FTP server is Provide a clear-text authentication and sign-in protocol in the form of a username and password. If your FTP server is configured to allow it, you can connect anonymously without having to enter anything