The Support Center has moved!! See the new website https://support.goalexandria.com/ ![]()

How helpful was this page?
Related Blog Posts
Blog Posts
-
Winter storms–recompute due dates
created by
Jan 23, 2024
-
Cleaning up the grade table–Authority Control
created by
Apr 26, 2023
-
Make a calendar just for the senior class!
created by
Aug 02, 2022
-
When does an overdue item become lost?
created by
Mar 15, 2022
-
Setting rules–Patron Policy Preferences
created by
Mar 08, 2022
-
Seeing double (barcodes) on patrons and items?
created by
Feb 23, 2022
-
Automatic email notices... What are you waiting for?
created by
Nov 17, 2021
-
Winter (break) is coming! Are your period due dates set?
created by
Oct 20, 2021
-
Unused Barcodes: Reporting for Duty
created by
Sep 15, 2021
-
Introducing... FAQs!
created by
Jul 07, 2021
Perma-Bound
Last Updated: $action.dateFormatter.formatDateTime($content.getLastModificationDate())

Perma-Bound is currently a free feature of Alexandria! No product activation codes or licenses are required.

Alexandria proudly partners with Perma-Bound to enhance the reading experience by offering book binding and rebinding services to schools and public libraries. Perma-Bound also provides high-quality materials for long-lasting general circulation that support learning and foster a love of reading and libraries. Perma-Bound's integration with Alexandria provides you with an easy way to export your data in MARC format and upload it to Perma-Bound for review and analysis.
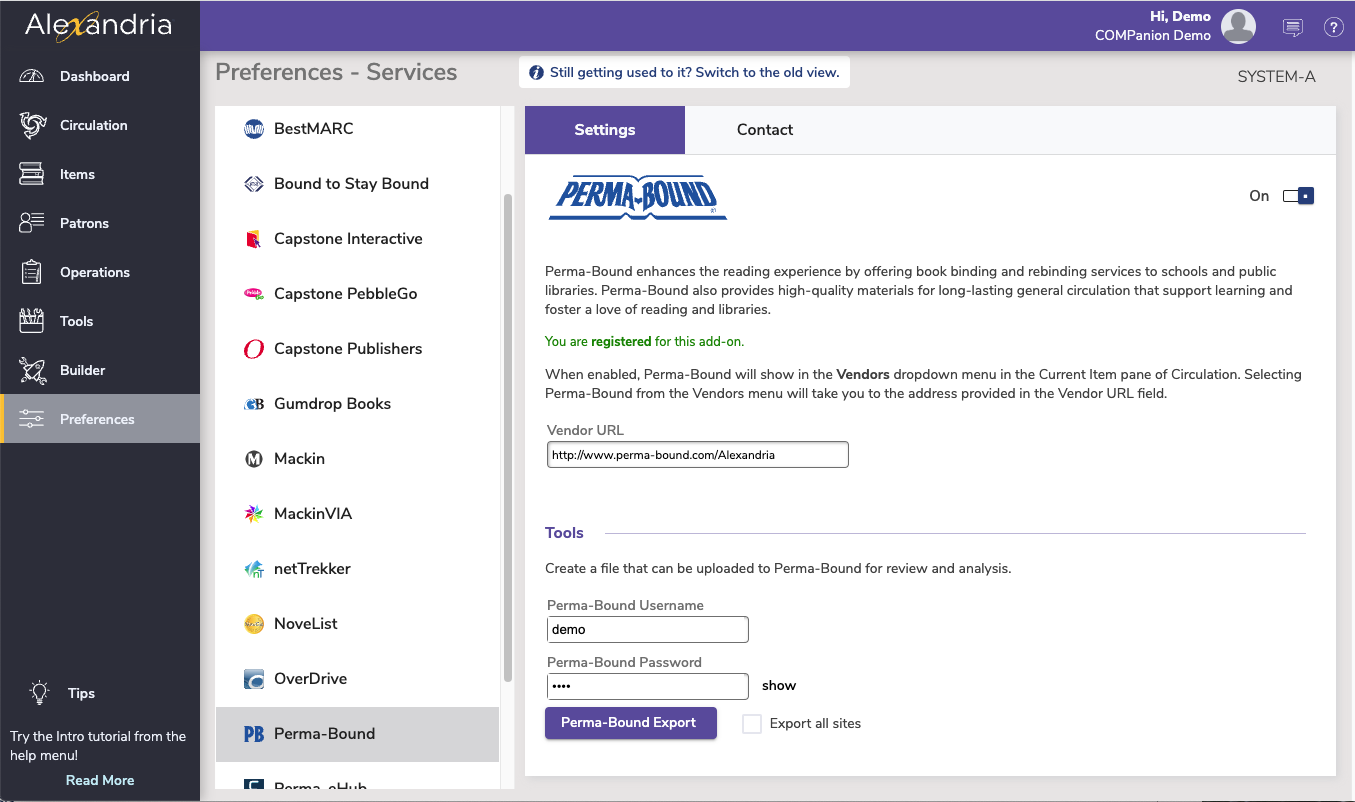
Settings
Alexandria's integration with Perma-Bound includes a convenient single sign-on solution; provide your Perma-Bound account credentials (i.e. Username and Password) and you will be automatically forwarded to the Vendor URL and authenticated by Perma-Bound. If you don't yet have a Perma-Bound account, you may click here to register for one.
- Enable Perma-Bound. When enabled, a Perma-Bound selection will appear in the Actions menu menu located in the Current Item pane of the Circulation window.
- Vendor URL. Selecting Perma-Bound from the Vendors section of the Actions menu will take you to the address provided here. The default is: http://www.perma-bound.com/Alexandria.
These tools allow you to create an export file that can be uploaded to Perma-Bound for review and analysis.
- Perma-Bound Username & Password. Provide your Perma-Bound account username and password here. These are required for the single sign-on solution; used to authenticate your credentials on the Perma-Bound School Library site. If you don't yet have a Perma-Bound account, you may click here to register for one.
- Perma-Bound Export. This button creates an “Item Export” text file (via Operation Management) that can be uploaded to Perma-Bound for review and analysis.
- Export All Sites. This option gives Centralized Catalog operators the ability to export their entire collection or the single site they're currently logged into. Choosing to export a single site keeps the item export file smaller, and generally makes the Perma-Bound catalog review faster.
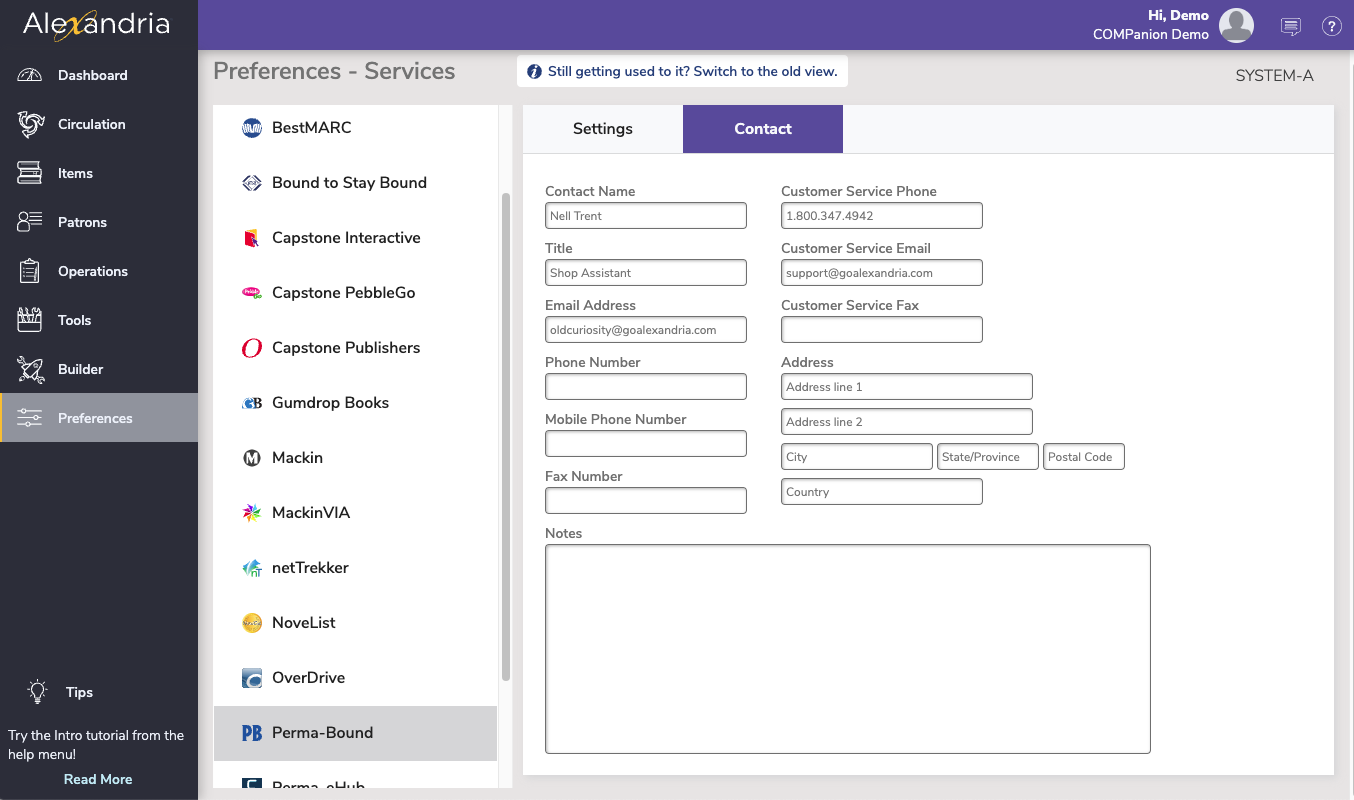
Contact
Under the Contact tab, you may fill out contact information for your Perma-Bound representative.
Export and Upload Collection to Perma-Bound for Analysis
- Select Preferences from Alexandria's Tools module.
- Next, click on the Extras icon in the Management section of the Preferences window.
- In the Extras Preference, select Perma-Bound from the left-hand side of the window; Perma-Bound's Preferences & Tools tab will appear.
- Click the Perma-Bound Export button to export your holdings from Alexandria in MARC format. If you're part of a Centralized Catalog and you'd like to export your entire catalog, checkmark the Export All Sites box; otherwise, only the collection for the site you're currently logged into will be exported.
- This will place the export in the Operation Management queue.
- Once the item export has been completed, you can retrieve it from the Operation Management window.
- Once you have exported your MARC records as a single file, you can upload that file to Perma-Bound's Manage My Collection. The file-size limit for uploading to Manage My Collection is 40 MB; for larger files, call (877) 277-0196 to arrange an alternative.
- The Manage My Collection area of Perma-Bound is located under the Manage My Collection heading on your My Account page; click on the Analysis Overview link.
- The page that appears lists the number of records read, number of exact matches, number of partial matches, and the date your collection was last updated (i.e. your Create Date).
- Click on the Update button under the Manage My Collection heading on your My Account page to begin uploading your collection.
- In the Collection Management Page, enter or update the following information to manage your collection: School Name—Automatically entered from your user profile. Grades—Select from Preschool to grade 12 in these drop-down boxes. Number of Students—Enter for enrollment or approximate number of patrons. Process—Select your file upload process here.
- The first time you enter collection management information this field will read, Create a new collection. For subsequent uploads you will have two choices: Append to your current collection—The best choice for most upload scenarios; this is the default setting. Overwrite your current collection—Choose only if you want to re-upload your entire collection.
- Select file to upload; click on Browse and find your exported MARC record file.
- Once selected, the file path will appear in the entry box.
- When you are finished, click on Update to submit your file or Cancel to return to the My Account page.
If you receive updated MARC record files with an order, whether CD-ROM, via email, or download, you can quickly add them to your collection profile. Simply select the updated file to append to your collection and upload it to Perma-Bound.